Desert Terrariums With Terrain
Desert Terrariums With Terrain

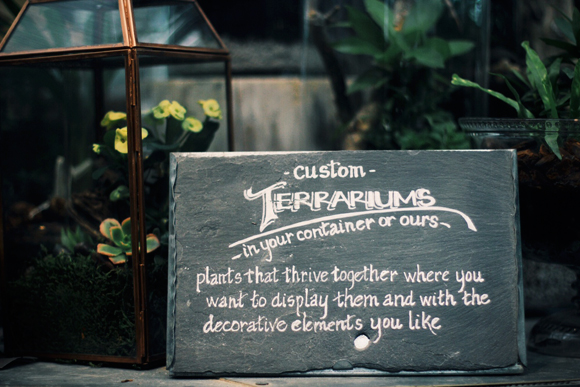
I love getting the opportunity to collaborate with Terrain. Throughout the year, they host fun workshops at their store in Glen Mills,PA. Only a short drive away from our home office, it’s always a treat when I get the chance to visit the store and work with one of the talented gals who work there. This time, I linked up with Meghan, the Design By Terrain Supervisor, for a workshop on how to create the perfect desert terrarium!
Terrariums are a decorative and easy way to create your own little curated ecosystem. You can make them fit with any style of decor, and it’s a fun way to bring a little bit of outside nature into your home.
There are two basic types of terrariums:
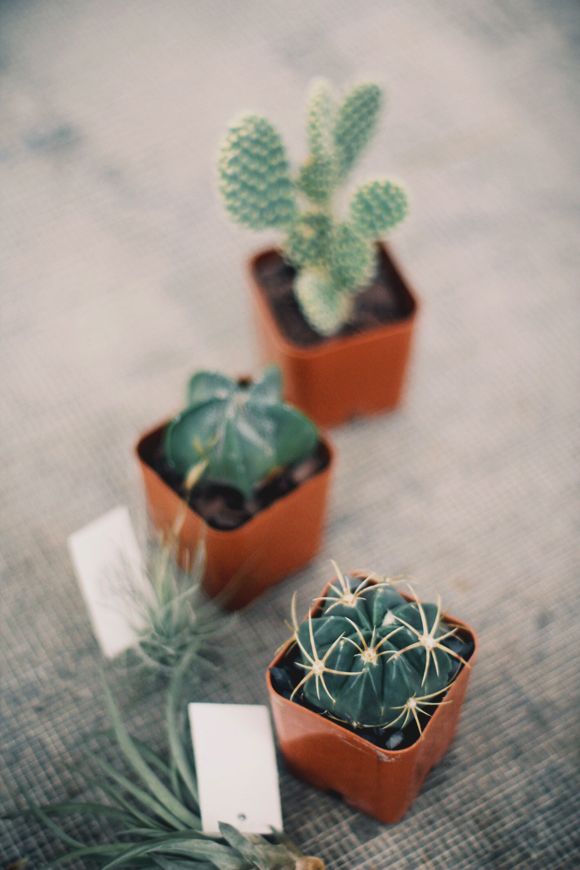
Fern terrariums, or succulent terrariums. Before you start picking out plants and decorative items to place inside, you need to decide what kind of terrarium you are going to make. For this workshop, we chose to work with succulents and cacti. These little plants thrive in a dry environment with a lot of sunlight, whereas ferns like more moisture and less sun. Whatever kind of terrarium you decide to make, picking the right vessel to support it is very important.
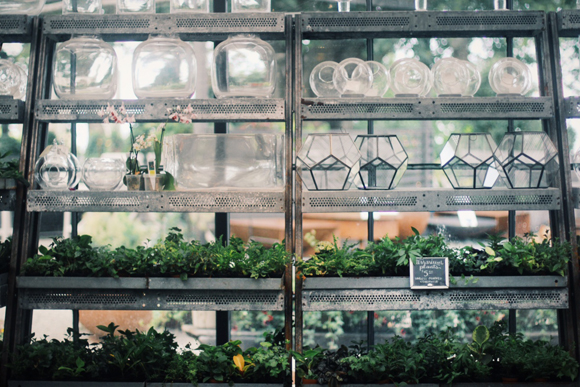
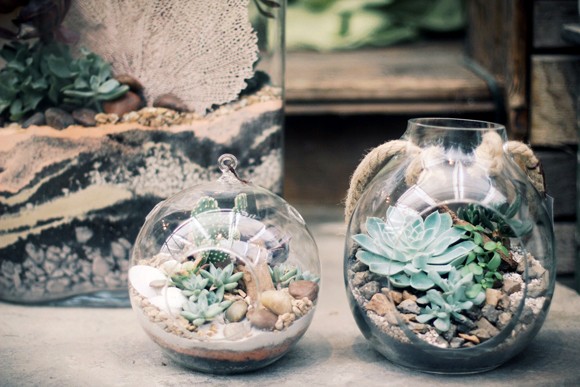
If you think of a desert, it’s dry, hot, and sunny. The best kind of vessel to pick when recreating a desert environment is one that will supply good airflow. Terrain has a great selection of vessels that you can browse, or, you can use something that you might already have at home! Any clear glass container will work, but if you’re making a desert terrarium, you want to choose something that doesn’t have a lid. A container that does have a lid, cover, or door is a better home for fern terrariums.

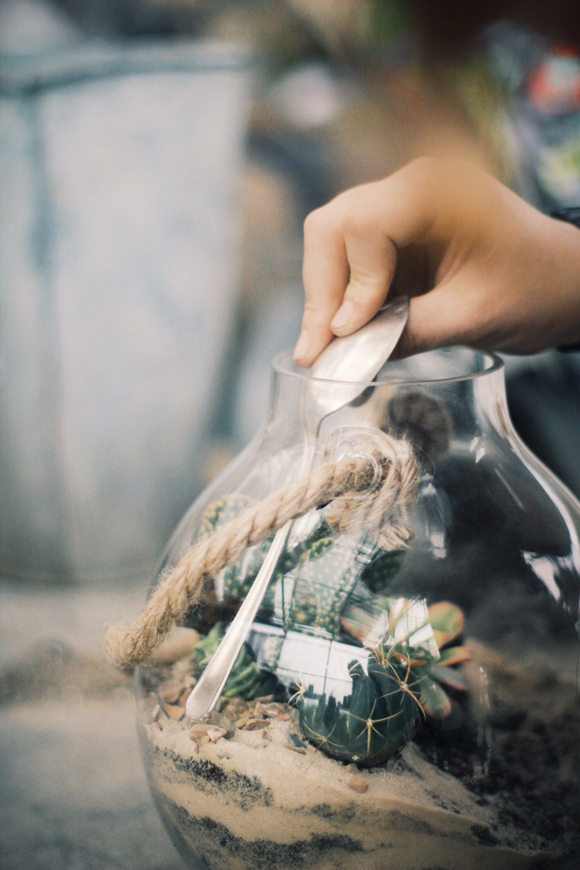
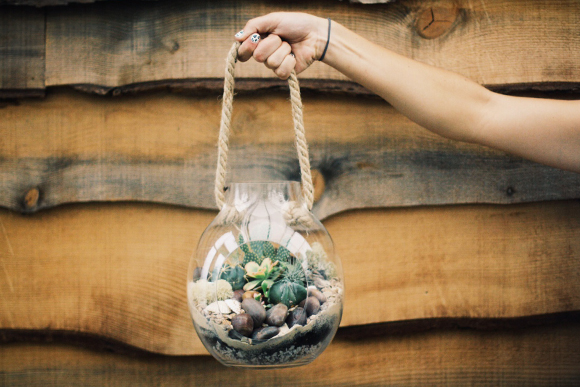
I chose a medium sized vessel, with an opening in the side and at the top. For a vessel this size, pick anywhere from 4-5 small plants to put inside. I chose a variety of succulents and cacti, ranging in shape and color. Never mix ferns with succulents or cacti – you will end up with dead plants!
Making terrariums is supposed to be fun and relaxing, and it’s totally up to you how it looks – so don’t over think it, and just go with the flow!
First, start with the three basic layers that any terrarium requires.
Step 1
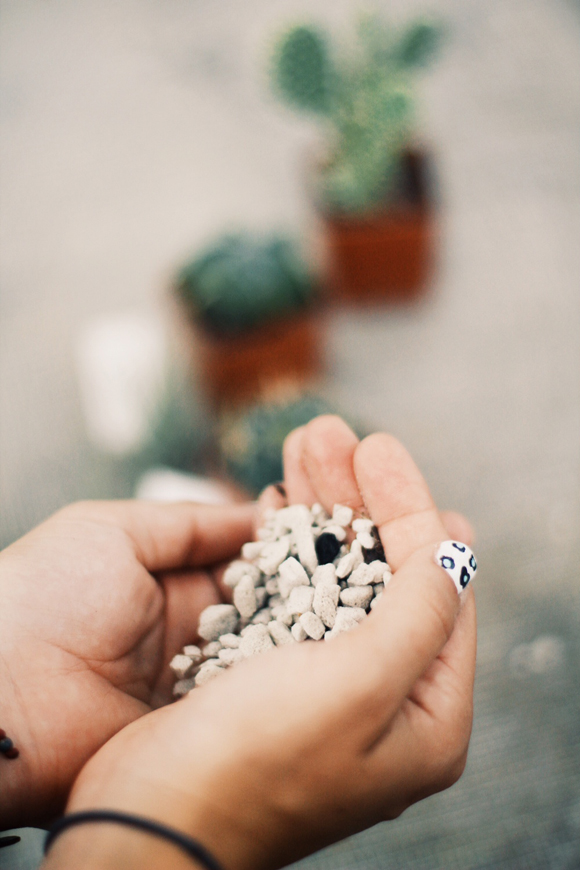
Start with adding some form of substrate to the bottom of your vessel. You can use rocks, pebbles, course sand, stones…anything that will elevate the soil so that it’s not resting on the glass. We used something that Terrain sells called Growstone, which is made from %100 recycled glass and is a lot lighter than regular stones! Whatever substrate you end up using, fill up your vessel about 1/2 inch from the bottom. You can always add more, but never less than this!

Step 2
Add a layer of activated charcoal. This helps to keep the terrarium clean and the water fresh.

Step 3
Add in some soil. Make sure you are using a basic type of potting soil – no Miracle Gro is necessary here. You can start to plan out what you want your terrarium to look like by creating little bumps and hills with the soil.
Step 4
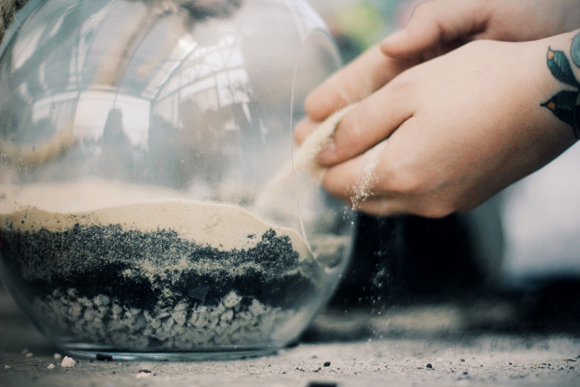
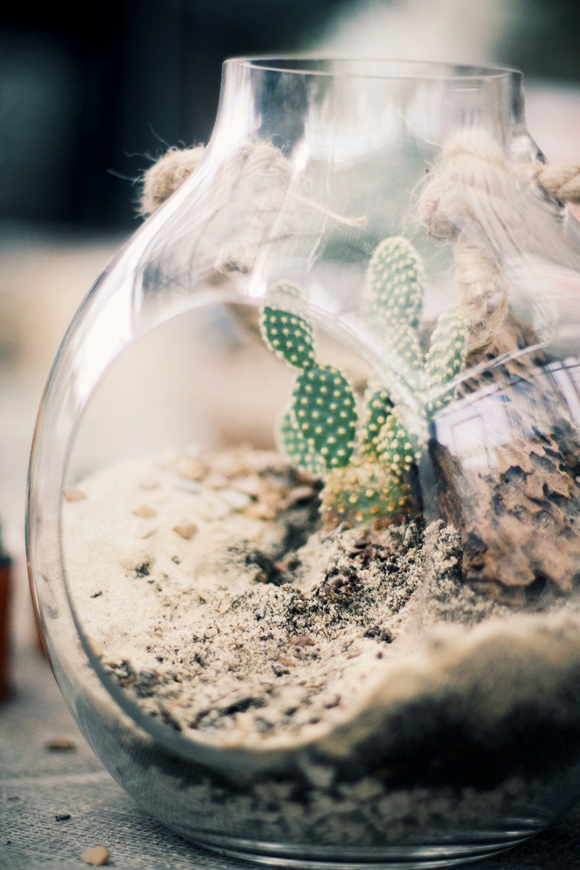
Start adding in different colored sands. Natural colors, like off whites, pinks, and blues look nice when creating a desert environment. Don’t forget that the bottom layers of terrariums show too, so make that part look just as interesting as the top!
Step 5
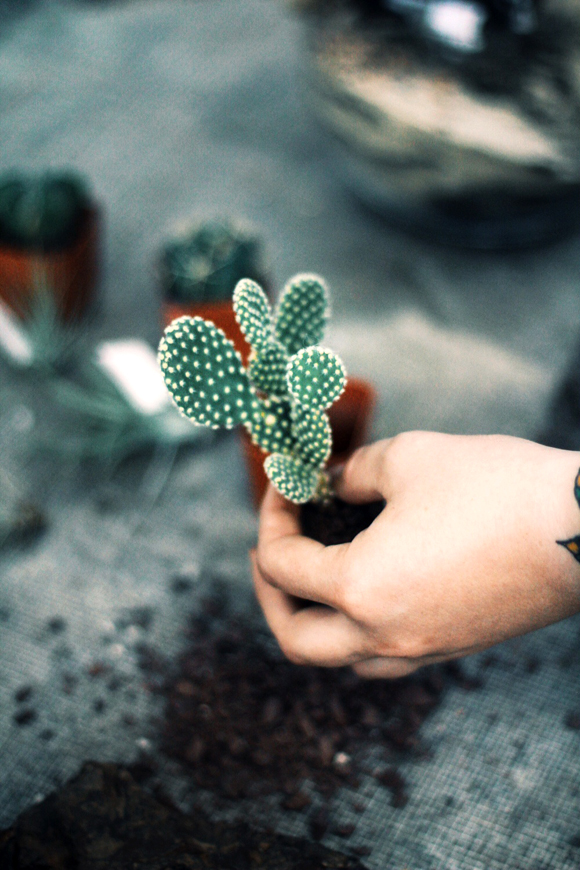
It’s time for plants! The easiest way to start working them in is to pick one plant you want to build around. Terrariums are a work of art, and the placement of plants and decorations can be overwhelming. The best thing to do is to pick one plant you want to showcase, and then start to build around that. When you work with cacti, it’s best to start with the tallest ones, and then work from the back out. The helps prevent little needles going into your hands!
Don’t overcrowd your terrarium. When you are placing your plants, remember to leave a little bit of room for growth.
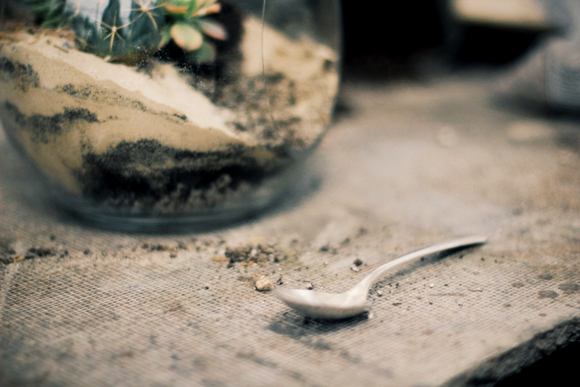
Spoons can quickly become your best friend if you are working with a vessel that has a small opening – use the end of one to help push things around and place things in your terrarium.
Step 6
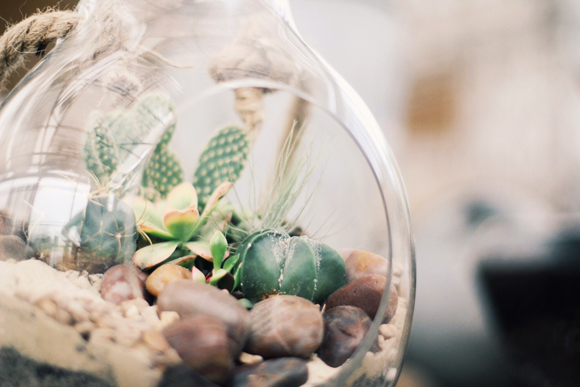
Once you have all of your plants placed, go back in and start adding decorations. You can use sticks, shells, tree bark, lichen, glass, moss…really anything that you think fits with your terrarium! It’s fun to add things that you find on trips, like shells from the beach, or things you find while on a hike.


Step 7
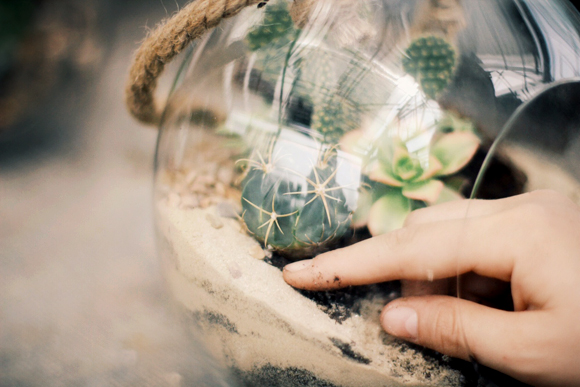
Terrariums are living things, so you need to care for them! Wherever you decide to place your terrarium in your home, make sure it is getting bright, indirect sunlight. When it comes to watering a desert terrarium, less is more. Using a spray bottle is best for watering – mist the water at the base of the plants, and water once every 1 -2 weeks, or depending on your light and temperature conditions.
Have fun and enjoy! Also, a big shout out to Meghan from Terrain for guiding us through this workshop – thank you, thank you!
Shop Terrain.
More workshop posts with Terrain.
Follow FP Jana on Twitter.