The Pale Pink Nail Tutorial You Need For Fall
The Pale Pink Nail Tutorial You Need For Fall

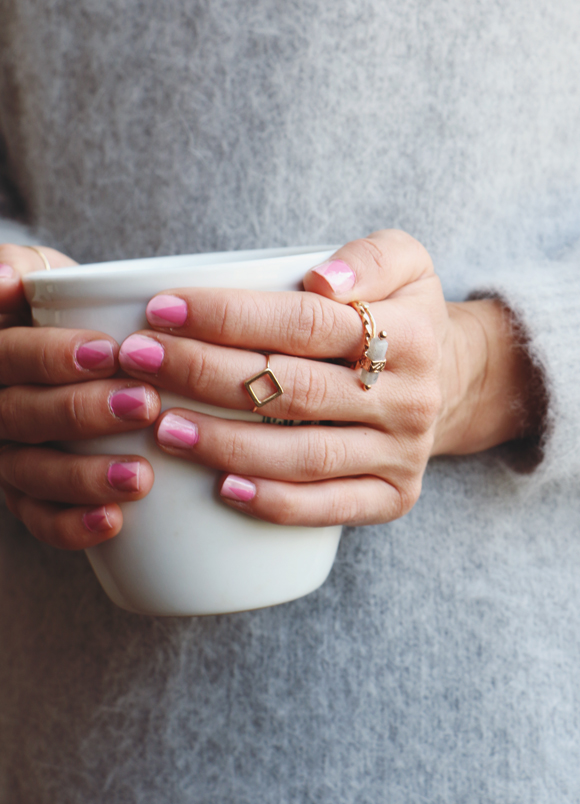
The moody, slate-grey days of fall aren’t too far off, lying just beyond the horizon. I’ll be sad to leave this sun-soaked summer behind, but will also be welcoming those cozy, grey afternoons with open arms. They’re the perfect excuse to stay in, stay warm, and do something small for myself, like try out a new nail art design.
I rarely paint my nails, but when I do, I love the look, especially in pale pink. It just goes with everything — feminine with airy dresses or even a little tough paired with jeans and a tee. For this design, I was inspired by the softness of grey skies and light-diffused days – check out the steps below!
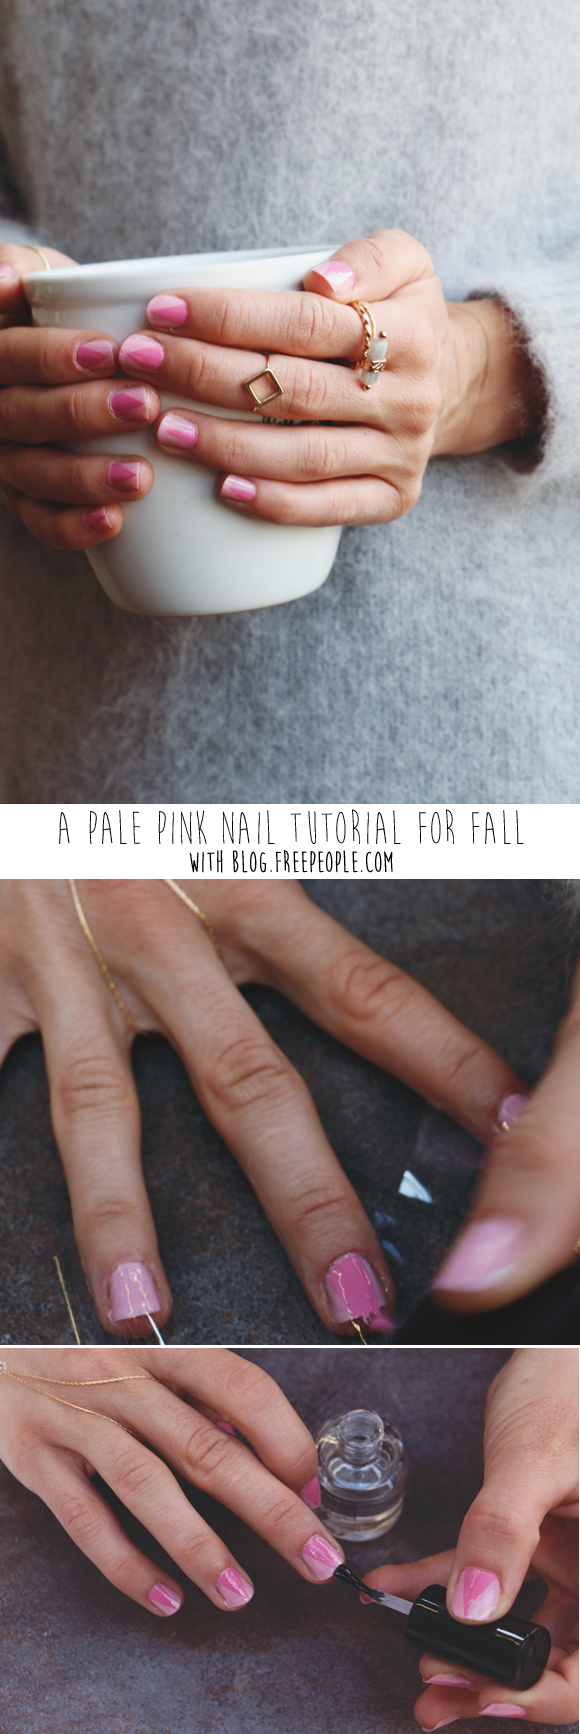
What you need:
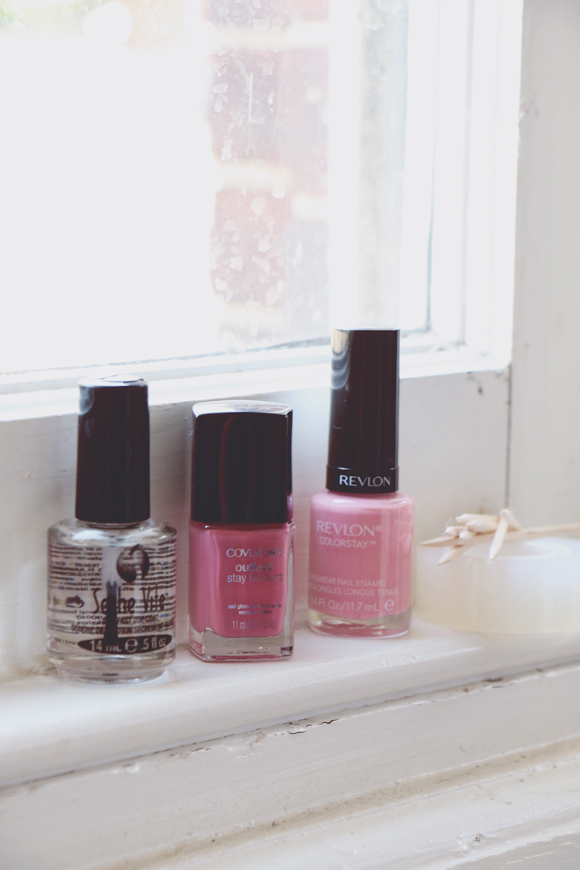
Two light pink nail polishes (I used Revlon “Cafe Pink” and Cover Girl “Everbloom”)
Tape
Clear top coat
Toothpicks
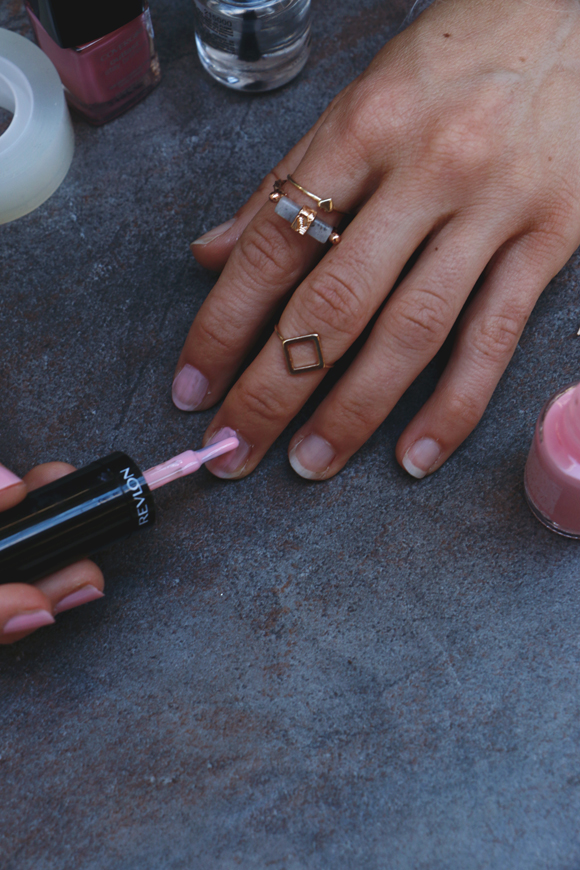
1. Paint your nails with a base coat of the lighter polish and allow to dry completely. Apply a second coat if needed.
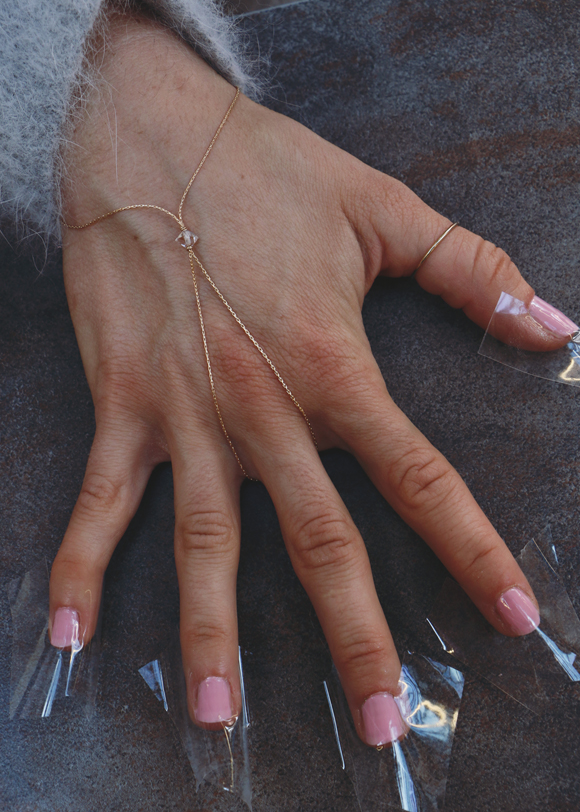
2. Once your nails are completely dry, use the tape to mask off the side of each nail, creating a triangle in the middle.
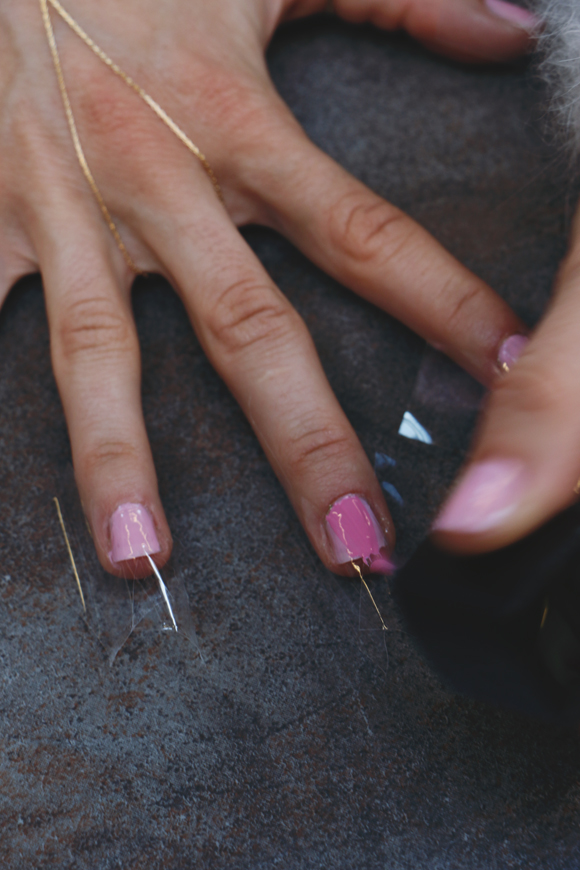
3. Swipe a thin coat of the darker polish over the exposed triangle and carefully remove the tape while the polish is still wet. Repeat on the opposite hand, using the toothpicks to clean up any mess.

4. Apply a thin layer of top coat to each nail and allow to dry.
More beauty tips from the BLDG 25 Blog.