2 Mini String DIYs

Take a regular-sized object, scale it down to look like something from a tiny universe, and my heart just melts.
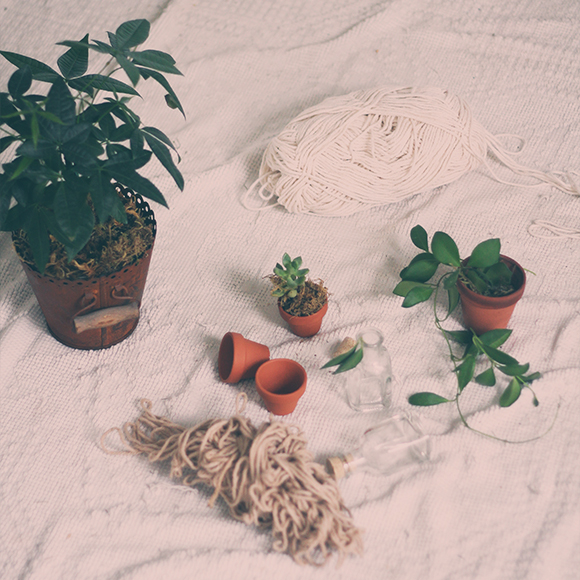
I don’t understand the psychology behind it, but I’ve always felt that there is something so overwhelmingly adorable about all things miniature. I know I can’t be alone on this front, so today I wanted to share two of my favorite tiny DIYs – each using mainly just string. Which of these do you find the cutest?!
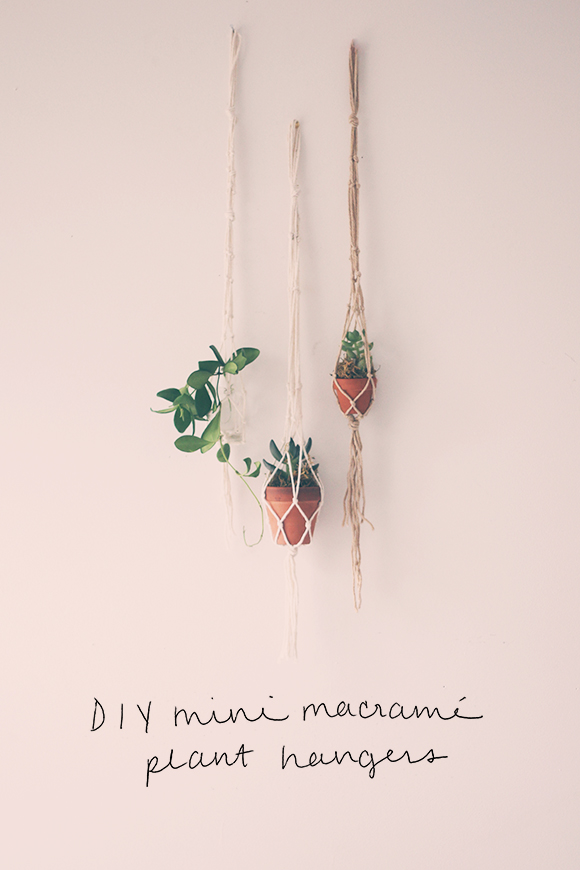
These are my new favorite things to make. They take, like, 6 minutes each, and they are just the cutest. These are awesome because their diameter is small enough that they can be hung attractively on your wall without popping off of it in a weird way.
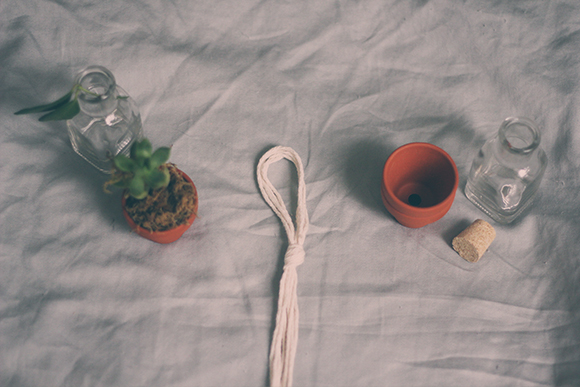
Start with 4-6 pieces of string that are about 2.5 times the length of your desired finished product. Fold them in half and create a knot near the top, forming a loop – this will be your hanger.
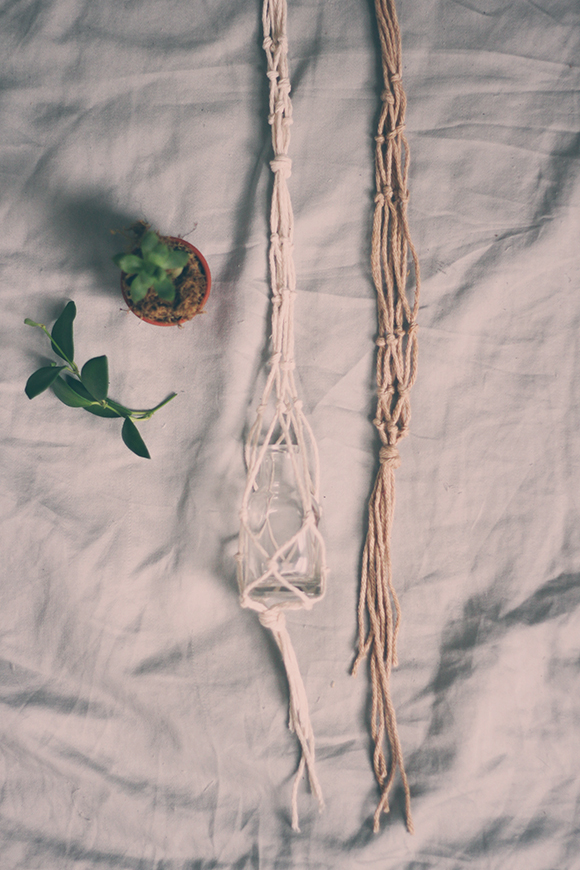
Take two adjacent pieces of string and tie them into a knot. Repeat with each piece of string. Then, do this again just a bit below, using one string from each pair to form a new pair.


Continue this using varied spacing between levels until you reach the bottom. Then, tie all of the string into one strong, single knot.
Insert a tiny plant in a tiny terracotta pot or glass bottle. How adorable!

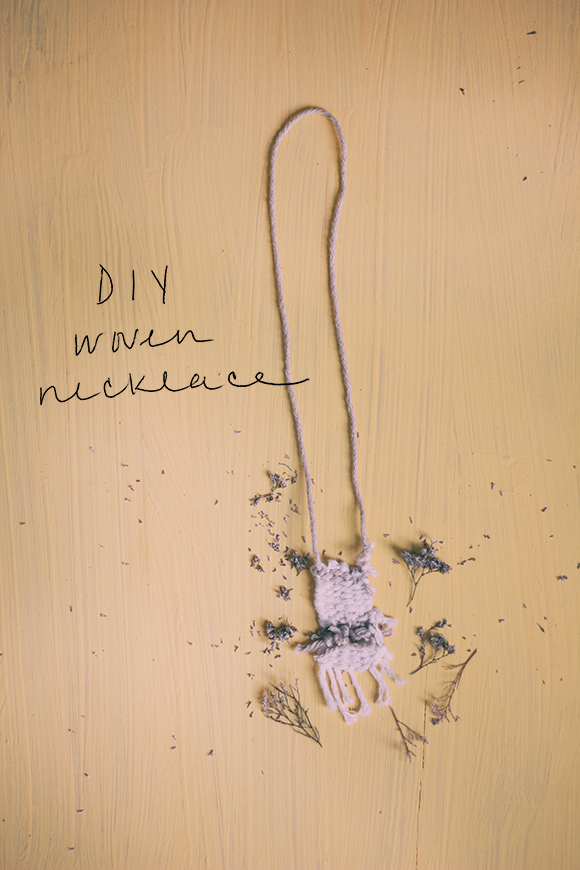
I’ve been wanting to get into making weavings for a while, but haven’t allotted myself enough time to get started on a substantially-sized one. This mini weaving is perfect because its tiny size means it only takes 10-15 minutes to make! You can turn it into a necklace like I did, or use it as an itty bitty wall hanging.
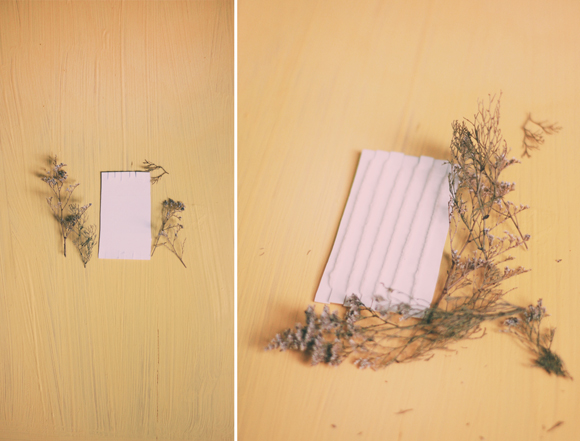
First, make a loom using a piece of cardboard. Mine is about 2 x 3 inches, but you can vary the size depending on how big or small you’d like your weaving to be. Cover the edges with a piece of packing tape to strengthen your loom, then cut an even number of evenly-spaced slits into either end. Wrap one piece of string around the loom, using the cut indents to hold it in place. Tape the ends down on the back of the loom.
Take a new piece of string and weave through the string of the loom, alternating over and under, beginning at the top of the loom. Be sure to leave about an extra inch at the beginning and end – you’ll need to tie this later.

Alternate the types and colors of string you use. I dyed some with tea (which you can learn to do here). You can also take shorter pieces of string and tie them onto the loom like you see below. This creates some added interest on your weaving.

When you reach the bottom, cut the string in the back of the loom – right in the middle. Knot each loose end onto another piece of string wherever seems appropriate, and cut any excess.

If you want to make yours into a necklace, just tie the weaving onto a chain or a longer piece of string. Done! How adorable.

Do you have any mini DIYs to add to the list? Let us know!
Follow Brigette on Instagram, and have a look at her blog and Etsy shop!