Adventures in Homemade Marshmallow Making
Adventures in Homemade Marshmallow Making
Sometimes when the internet tells you to not do something, it’s best to listen. This is true for a number of things, including using fruit pectin to make marshmallows. But sometimes you just need to learn the hard way. To answer the largely unanswered question of why you shouldn’t use fruit pectin to make marshmallows: It just doesn’t translate. The mixture won’t fluff up and you’re left with a goopy, yellow, horrifying mess. Vegan friends, I tried, I really did, but you’re better off doing what I didn’t and just ordering the vegan gelatin off the internet.
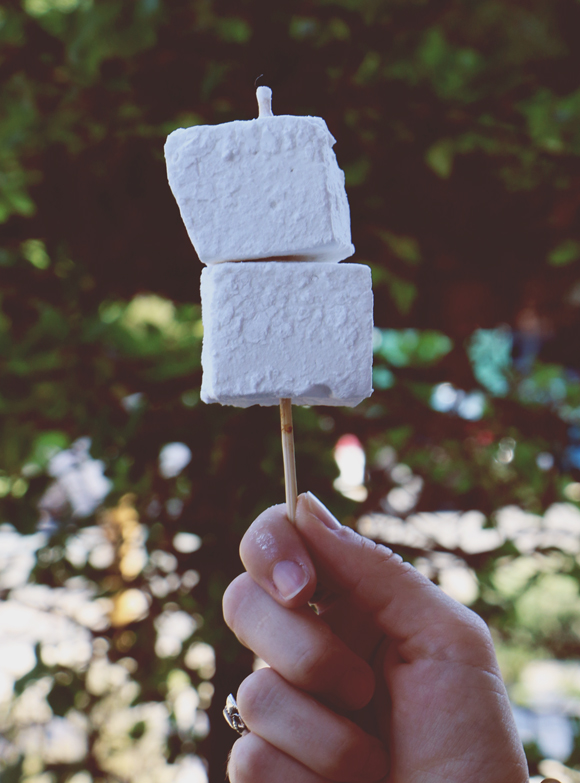
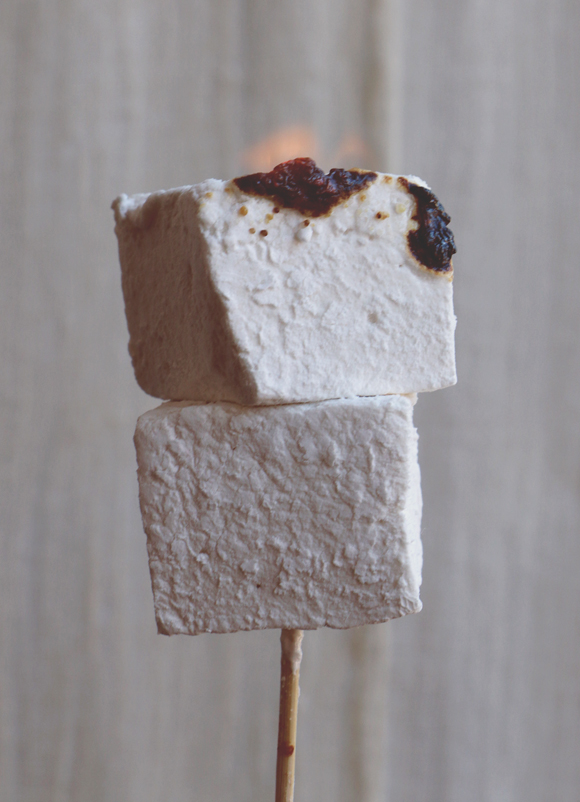
To make myself feel better, when I got home from work yesterday I made a batch of your regular, everyday marshmallows. The kind with gelatin. And they turned out so amazing that I just had to share, because tomorrow is National Marshmallow Toasting Day, and that day should be celebrated with soft, cloud-like marshmallows toasted over a fire and sandwiched between two graham crackers. This recipe isn’t healthy, but it is homemade so it’s free of any unnecessary ingredients, and we should all feel free enough to indulge in a treat every now and then.
Despite the steps listed below, making marshmallows is surprisingly easy, but it also takes patience and vigilance. A few tips: Mark off an hour in your day, put your phone on silent, shut any pets out of the kitchen, tie back your hair, and wear closed-toe shoes. Hot sugar is hot and hot marshmallow clings to everything. If you’d like to use a vegan alternative to the gelatin, check out this comprehensive guide, and whatever you do: Don’t. Use. Pectin.
Vanilla Marshmallows
What you need:
Tools:
9″x 13″ baking pan
Parchment paper
Stand mixer with a whisk attachment
Whisk or fork
Bowls
Large sauce pan
Candy thermometer
Offset spatula
Sharp knife or clean kitchen scissors
Clean kitchen towel
Ingredients:
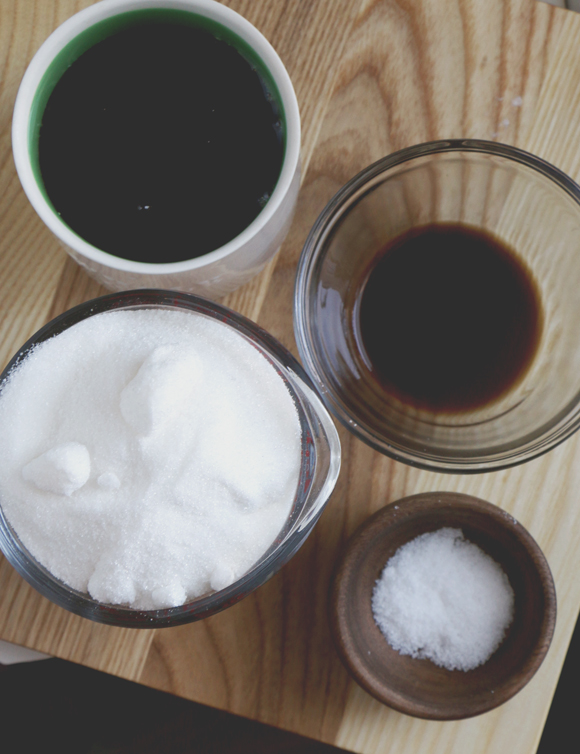
3 packets (3 Tbs) unflavored gelatin or gelatin substitute
2 Tbs vanilla extract
1/2 cup + 3/4 cup cold water
1 1/4 cup Golden Syrup (look for Lyle’s brand, or use light corn syrup)
Pinch of salt
1 1/2 cups sugar
Coconut oil or cooking spray
Confectioner’s sugar for dusting
Before you do anything else, read through the entirety of these directions. Than, start with a clean kitchen and have all of your ingredients measured and ready to go with your stand mixer set up. Trust me, it’s only going to get messier from here on out.
Prep the baking dish by lightly oiling the sides with the coconut oil and lining it with parchment paper. You can also very lightly oil the paper itself to ensure the marshmallow mixture won’t stick. Lightly dust the oiled paper and pan with confectioner’s sugar.
Next, you need to “bloom” the gelatin. To do this, measure 1/2 cup of cold water into a cup and add the vanilla. Put the gelatin into the bowl of the stand mixer and pour the water over it, whisking it with a fork until there are no lumps and it comes to a sauce-like consistency.
Once you’ve created the gelatin bloom, it’s time to move on to the marshmallow base. In the saucepan, combine the remaining 3/4 cup of cold water, golden syrup, salt, and sugar (in that order) – don’t stir it. Bring the mixture to a boil — you will be tempted to stir it, but don’t — cover the pot and allow to boil for two minutes.
After two minutes, remove the lid, and attach the candy thermometer to the side of the pot being sure the tip is not resting on the bottom. Boil the syrup until it reaches exactly 248 degrees. Be patient, it’ll get there (this might take 5-7 minutes).
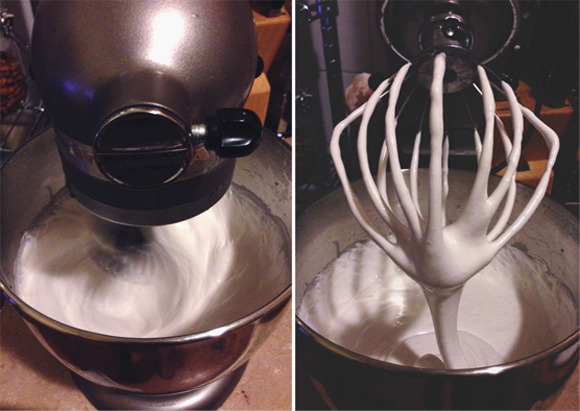
Once the syrup reaches 248 degrees, remove the pan from the heat and take off the thermometer. Turn the mixer on low-to-medium speed and very carefully and very slowly pour the sugar mixture into the gelatin. Cover the mixer with the clean towel and increase the speed to high (the towel prevents the hot mixture from splattering). Allow the mixer to beat for 10 to 12 minutes, until it is opaque, thick, and slightly shiny.
When the mixture is finished beating, turn off the mixer and use the spatula to transfer the marshmallow to the baking dish and smooth it out. You can also lightly oil your hands and use them to push the mixture to the corners of the baking dish. Allow your marshmallows to sit uncovered and at room temperature for at least 6 hours – though overnight is best.
Once the marshmallows have set, carefully remove them from the baking dish and transfer to a work surface that is dusted with confectioner’s sugar. Lightly cover all sides of the marshmallow brick with more confectioner’s sugar.
Use the knife or kitchen scissors to cut the brick into squares. Toss with more confectioner’s sugar to coat the cut sides.
Store in an airtight container until your next camping trip (which should really be this weekend) and sandwich between good dark chocolate and graham crackers after a long hike through the woods.
If any of you have had success with vegan marshmallows, please do let us know in the comments!
More recipes from the BLDG 25 blog.


