Better Than Store-Bought: Date Caramel Dark Chocolate Eggs
Cut out the processed stuff this Easter with these whole food date caramel chocolate eggs
Spring has finally, gloriously, graced us with its presence and, with it, ushered in aisles of candy-colored bunnies and technicolor candies. Yes, the first holiday of this new season is drawing near, and from all angles, the siren song of Easter sweets and treats and chocolate eggs and marshmallow rabbits beckons. Whether you’re planning to celebrate Easter this Sunday or are simply heralding the arrival of spring, it can be difficult to avoid the sugar-coated-everything that lines grocery store shelves… and let’s not even talk about the day after when it’s all discounted by 70%. As someone with a well-documented sweet tooth, it can be difficult to avoid those pastel-hued temptations… sometimes I think it’s more the color that draws me in… but you know what I love even more than sweets? A challenge. Because as much as my sweet tooth might ache, it’s the long, unpronounceable list of ingredients that accompany those highly processed candies that completely turn me off from indulging in them. High-fructose corn syrup? No thank you, I’ll pass. For me, half the satisfaction of a truly decadent treat comes from knowing I crafted it with my own two hands, with complete consciousness given to the ingredients.
Today I’m sharing a simple recipe for something even better than the soulless caramel-filled store-bought chocolate eggs we all know and, admittedly, love. These dark chocolate date caramel confections feature a short list of simple ingredients, making them an indulgence you won’t feel bad about, and, when wrapped up with a bow, a pretty springtime gift for the upcoming holiday, or any day. I chose an 85% dark chocolate to cloak the date-caramel with, but you could also go raw with a raw chocolate, or any other percentage of cacao to make these truly customized.
Date-Caramel Dark Chocolate Eggs
Ingredients:
- For the caramel:
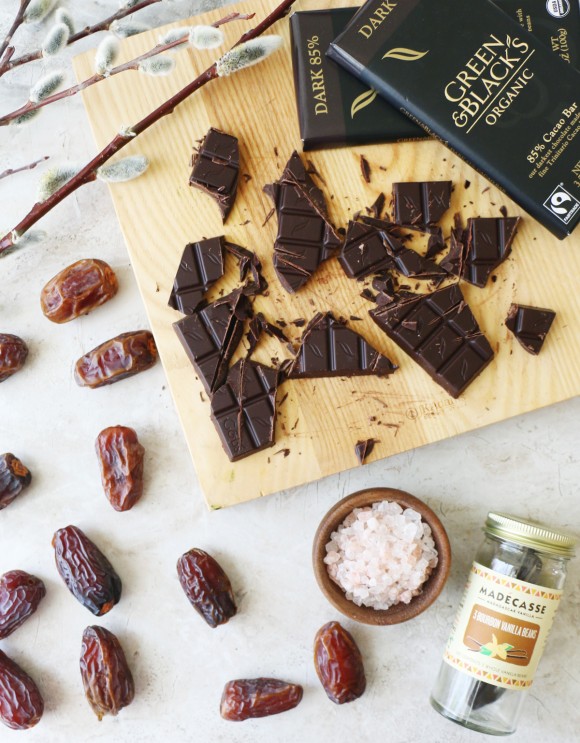
20 pitted Medjool dates
1 vanilla bean, scraped
1 tsp maple syrup
2-3 tbsp warm water
Pinch Himalayan pink salt
- For the chocolate:
5 oz. dark chocolate (I used 1.5 bars of Green & Black’s organic 85%)
- Tools:
Silicon egg mold (we found ours on Amazon)
Double boiler or a bowl nested in a pot
Silicon spatula
Small pastry brush (optional, but recommended)
Food processor or high speed blender
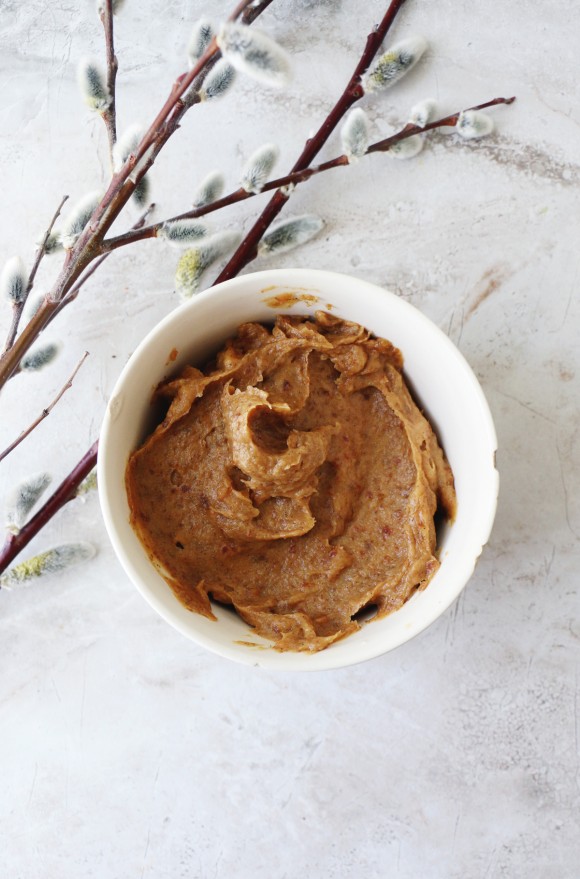
To make the caramel, soak the pitted dates in warm water for about 10 minutes to soften them. While the dates are soaking, scrape the center from the vanilla bean. Place the scraped vanilla paste, maple syrup and warm water in the food processor. Drain the water from the dates, and add dates to the processor. Process until smooth. You’ll likely have to stop the processor occasionally to scrape down the sides. If it’s too sticky, add small amounts of warm water until it gives (the final product should be the same consistency as peanut butter — thick and smooth, not drippy). Set date caramel aside.
Melt the chocolate in the double boiler, stirring occasionally until melted and being careful to not splash any water in the chocolate. Remove from heat but keep the chocolate in the boiler to keep it liquefied.
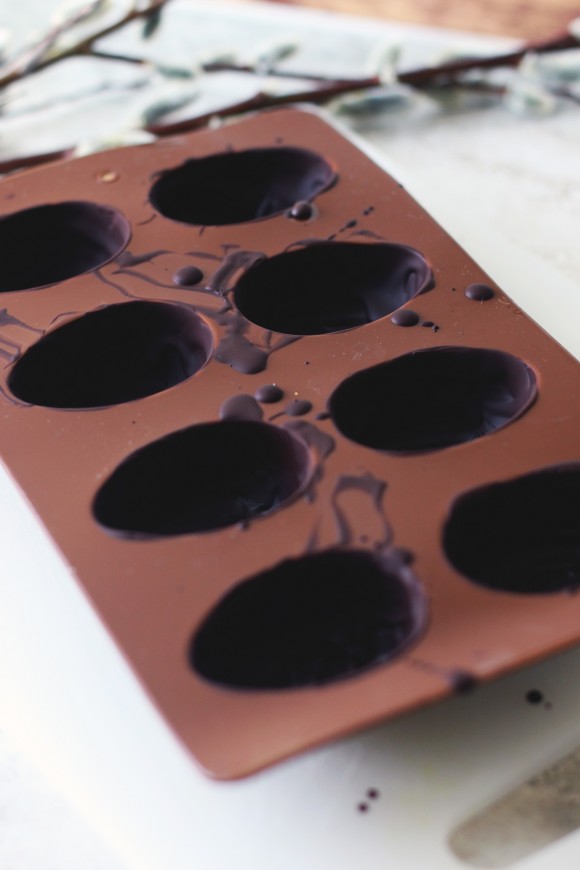
To make the chocolate shells: use the pastry brush to paint chocolate inside the well of each egg mold, starting off with a thin coat. Paint a coat, and place the mold in the freezer to set (about 5-10 minutes per coat, I did three). Repeat until you have a thick shell, with space in the middle for the caramel.
To fill the shells: remove shells from the freezer. Use a spatula or spoon to gently fill each chocolate shell with caramel, using a knife to scrape off the excess and smooth out the tops. Pop in the freezer for about 20 minutes to firm up.
Once the eggs are set, remove from the freezer and paint more melted chocolate over the tops of the molds to seal in the caramel. Place back in the freezer for at least 30 minutes.
When you’re ready to remove the chocolate eggs from their molds, gently pull each end of the mold to loosen the edges, then poke out the eggs one by one by inverting the cups. Use a sharp knife to trim any chocolate around the edges. These are best stored in the fridge or freezer, and will keep for a couple of weeks. If you’re planning to gift them for the holiday, they may be wrapped/displayed day-of but should be kept away from direct sunlight (it’s chocolate, after all).
Enjoy!
More food posts from the BLDG 25 blog


