Fall Container Planting DIY With Terrain
Fall Container Planting DIY With Terrain
Changing up your decor is a great way to visually transition to a new season.
A pastel bedspread for spring, bright white curtains for summer, shades of burgundy, brown, mustard and navy for fall and winter. It sounds ideal, but for those of us living in smaller spaces, storing all those extra accessories isn’t always practical or feasible. This week we started seeing signs of the impending season here in Philly — leaves on the ground, a noticeable (and very much welcome) chill in the morning air — and I got the itch to make some sort of visual change in my space, which coincided perfectly with our friends from Terrain paying a lunchtime visit to the Navy Yard to teach a container planting workshop.
Container gardens are the perfect seasonal decor solution, especially for those of us living in smaller homes or apartments. I’m already a plant-hoarder by nature and believe that most spaces are vastly improved with the addition of a green thing (or ten). A little bit of flora adds visual texture and a beautiful natural element to your home, plants help to filter the air around you, and they’re the perfect way to decorate for the season. Ready to usher autumn into your apartment, house, or front step? Check out the how-to below:
Terrain’s Fall Container Planter
Supplies:
Durable planting container
Potting mix
Drainage stones
Hardy plants
Decorative twigs & grasses
Water
Scissors
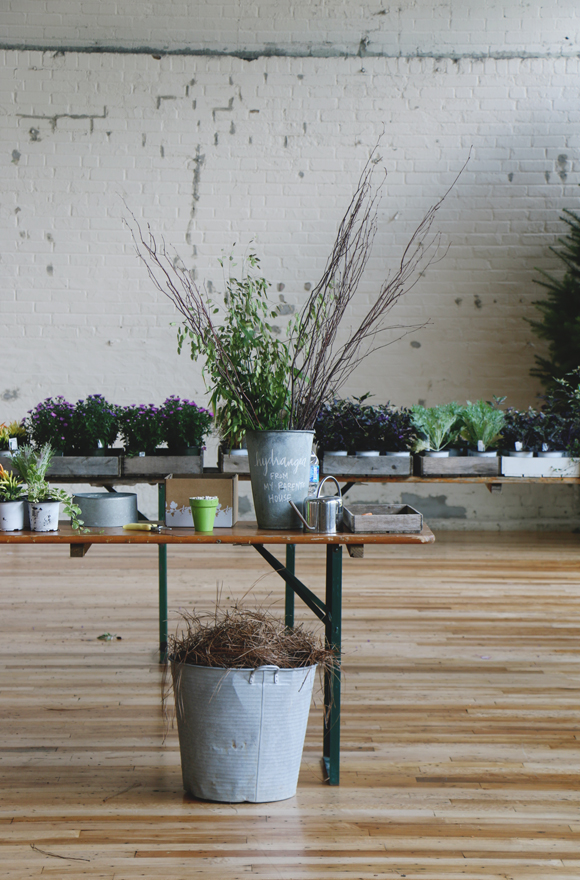
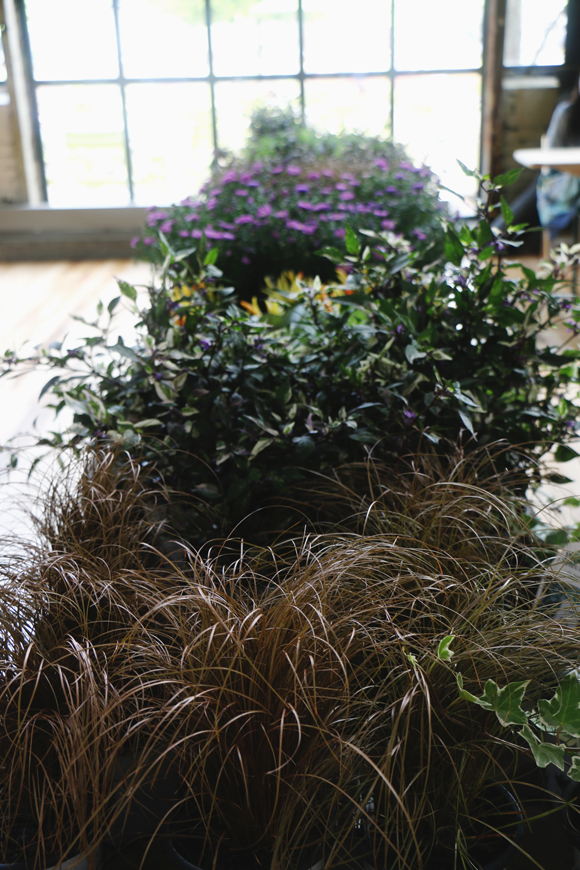
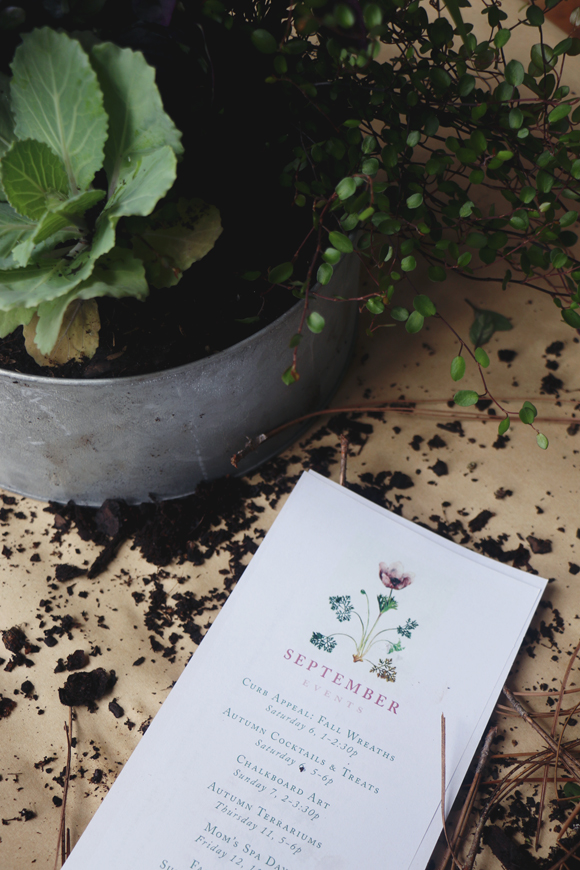
First, choose your plants. For this project we chose three annuals of varying heights and hues for maximum texture and variety. Try mini kale or cabbage plants (the decorative kind), ivys, mini peppers, decorative grasses, mums, and astors. If you have pets who like to nibble on your plants, be sure to confirm that the plants are pet-safe.
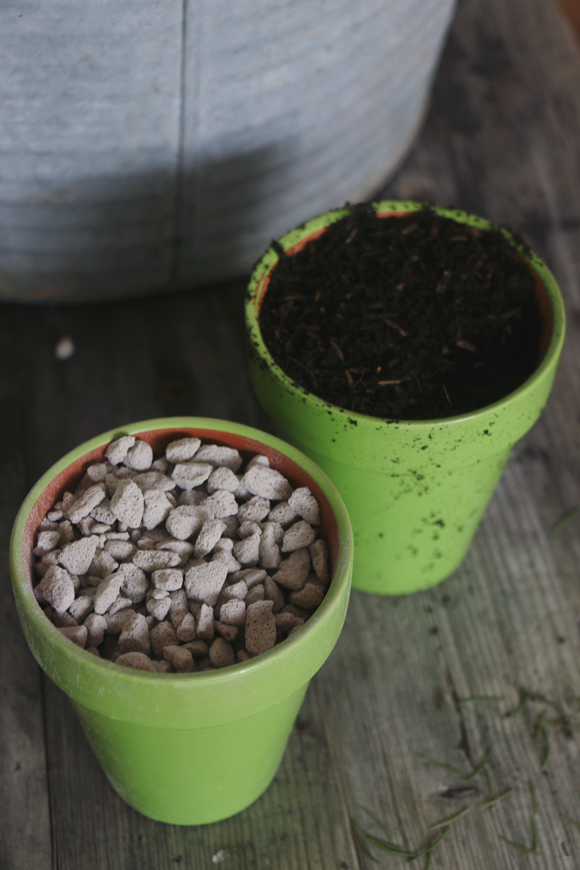
Once you’ve chosen your plants, pour a small layer of drainage stones into the bottom of your planter. This will keep the roots from staying too wet and rotting over time. Cover the stones with a couple inches of potting soil.
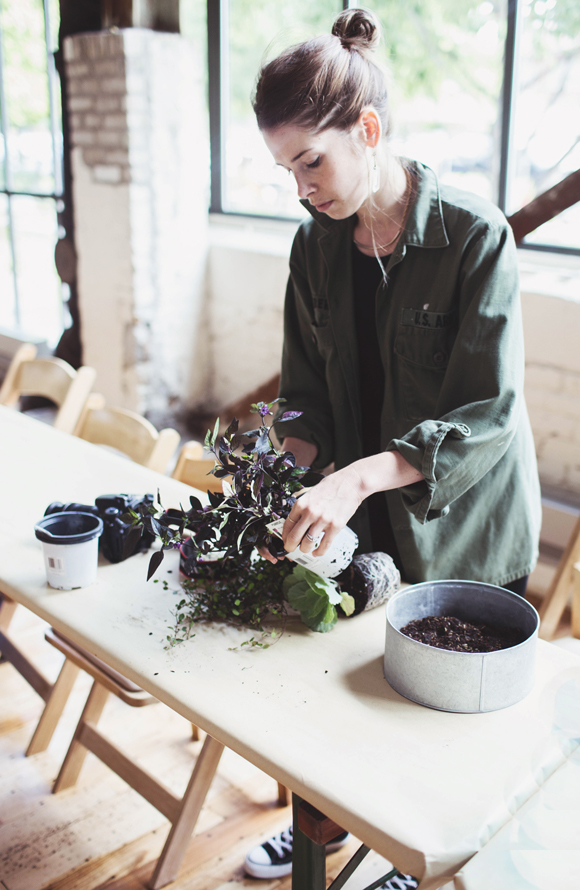
Gently remove your plants from their pots and use your hands to break up the bottom of the root balls.
Now it’s time to decide on placement. Play around with the arrangement until you land on something that you like, then fill in the open space around the plants with potting soil. Be sure to keep the soil loose and not packed down so that it properly drains.
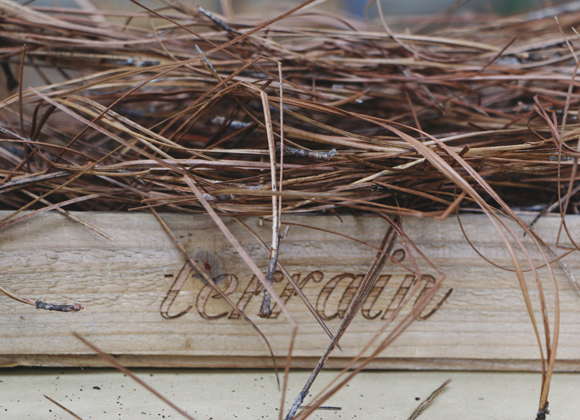
After your plants are planted, choose some twigs or grasses to place in and around the soil to decorate the planter. Try adding dried pine needles or additional drainage stones to the top for extra texture.
Annuals tend to need frequent watering, be sure to give your plants plenty of H2O when the soil feels dry.
Your fall container garden is a great way to dress up a kitchen table, front stoop, or porch.
How are you celebrating the new season? Let me know!
More DIY posts from the BLDG 25 blog.

