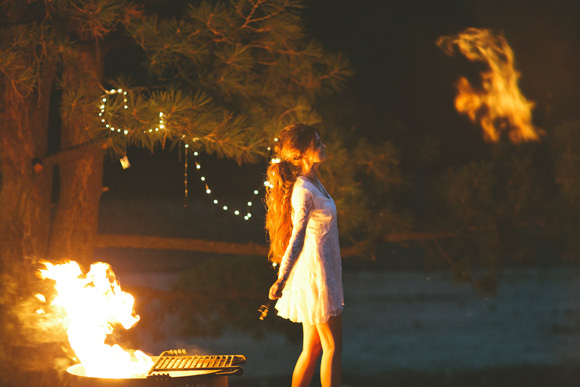
Get NYE Ready With 3 Hair Tutorials From Lindsey Pengelly!
Get NYE Ready With 3 Hair Tutorials From Lindsey Pengelly!
From head to toe, New Years Eve is the perfect excuse to dress up and feel a little extra pretty, on the inside and out.
It’s a time to savor the last few hours of the year prior, but more importantly, get excited for the year ahead. Wherever you’re celebrating and whoever you’re celebrating with, showing up to a party looking and feeling your best, in my opinion, is the only way to do it. With a little help from talented hair stylist and FP Me fave Lindsey Pengelly, we are bringing you three hair tutorials that are the perfect fit for ringing in the new year! Get to know a little bit more about Lindsey below, and find out how to get three of her favorite looks in just a few easy steps!
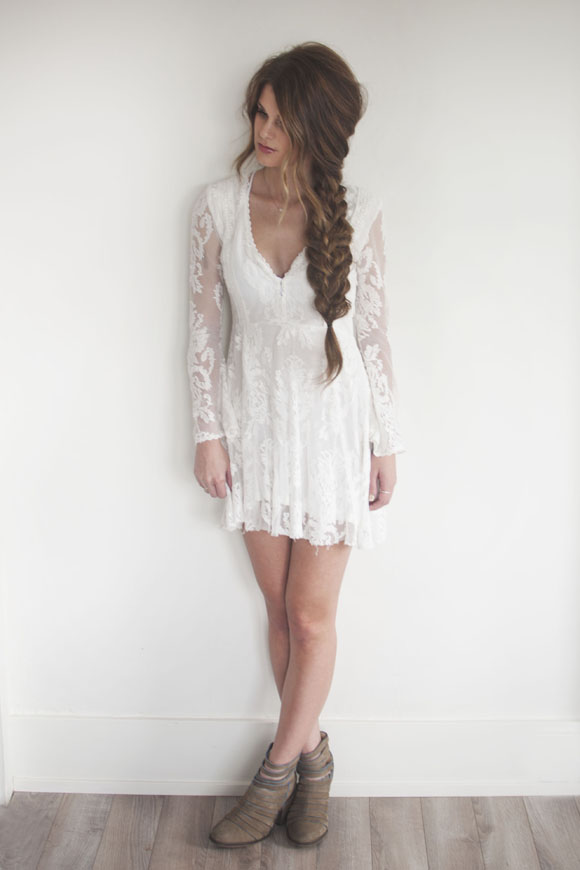
Get the Look:Reign Over Me Lace Dress
My name is Lindsey Pengelly and I am a hairstylist from Reno, Nevada working at the beautiful Salon Lux. My obsession is creating art through hair, in my work you wont see every strand of hair perfectly in place, it’s more like organized chaos. I’ve been licensed for two years now, but its a passion I’ve had all my life. I’m now known as the “hair wizard” in my town! The secret to keeping my hair healthy is by not washing it every day, and trimming the dead ends off every 8-10 weeks. I also use the whole Unite product line, from their shampoos and conditioners to their argon oils, and finishing products.
Below are three of my favorite hairstyles that would be perfect for the upcoming holidays and the new year. Have fun!
1. Simple and Classy – I love this hairstyle because it adds flair to ordinary curls
Step 1:
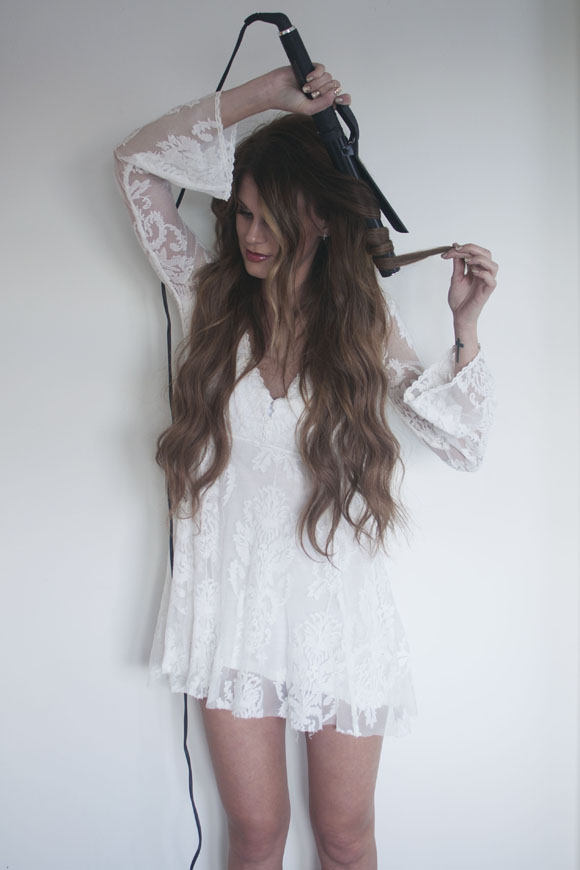
For curling my hair I use the Next Gen iron by Hot Tools, 1 1/4 extra long barrel. When I curl, I keep the clamp open while wrapping the hair around the iron. I leave about 1 inch at the bottom out to keep length and add to the messy look.
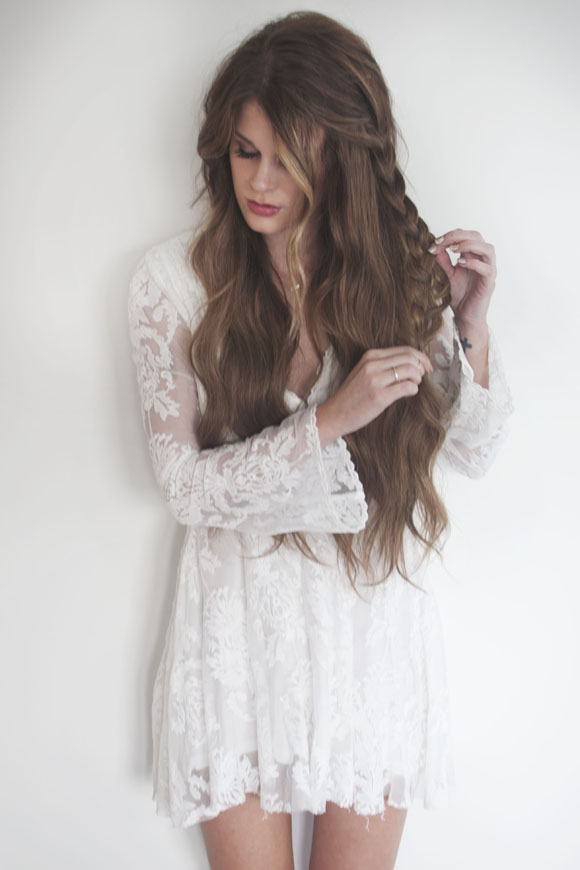
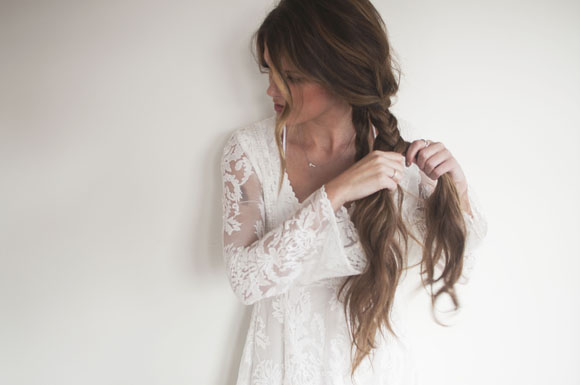
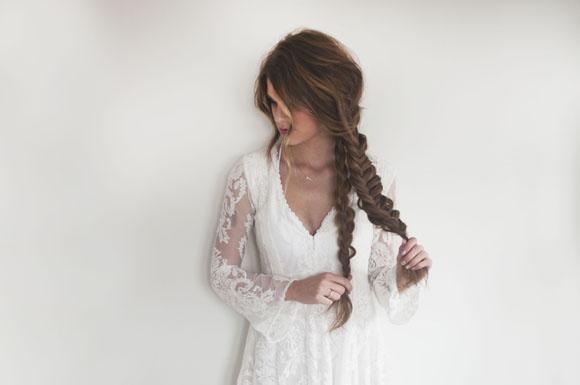
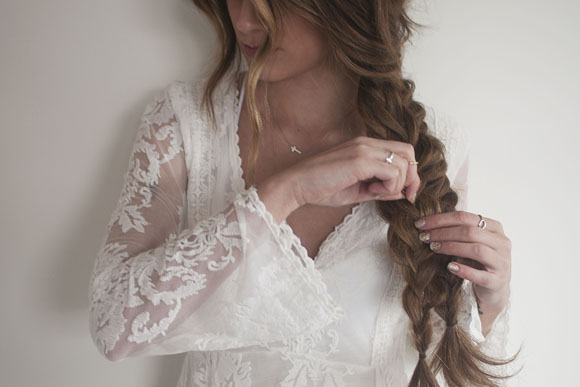
After curling your hair, grab a section and do a three strand braid.
Step 3:
Once braided, leave about 3 inches of the bottom unbraided and use a hair elastic to secure the ends. Pull the braid to create a fuller look.
Final Product:
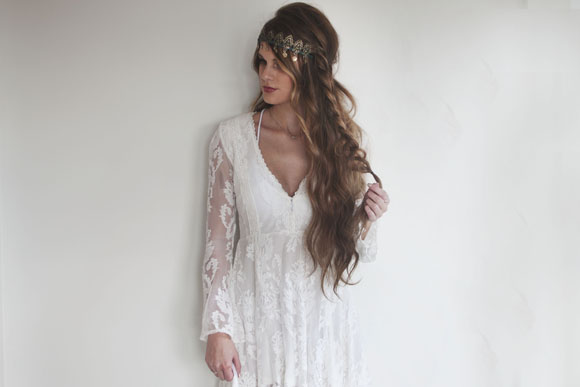
Get the Look: Secret Garden Crown
Add an accessory to top off the look!
2. A Braid Within a Braid – I chose this next style because when I wear it on myself I can’t go anywhere without someone stopping me and commenting on it, I always tell them it’s simpler than it really looks, which is true!
Step 1:
Pull your hair to the side, grab a section of hair underneath and make a three strand braid. Secure the ends with a hair elastic.
Step 2:
Take the unbraided hair and create a fishtail braid. So now you have one three strand braid and one fishtail braid.
Step 3:
Place the three strand braid in the center of the fishtail and use bobby pins to pin the two braids together.
Final Product:
Get the Look: Hybrid Heel Boot
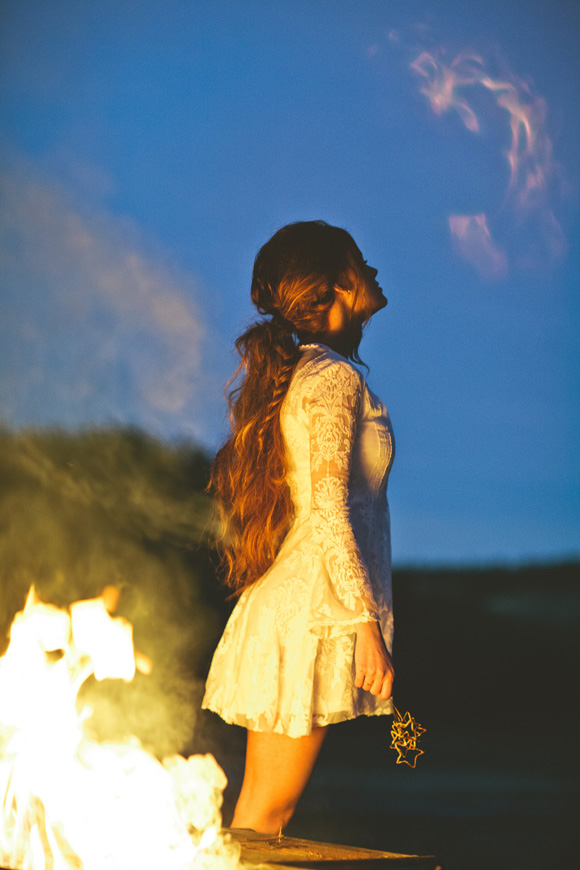
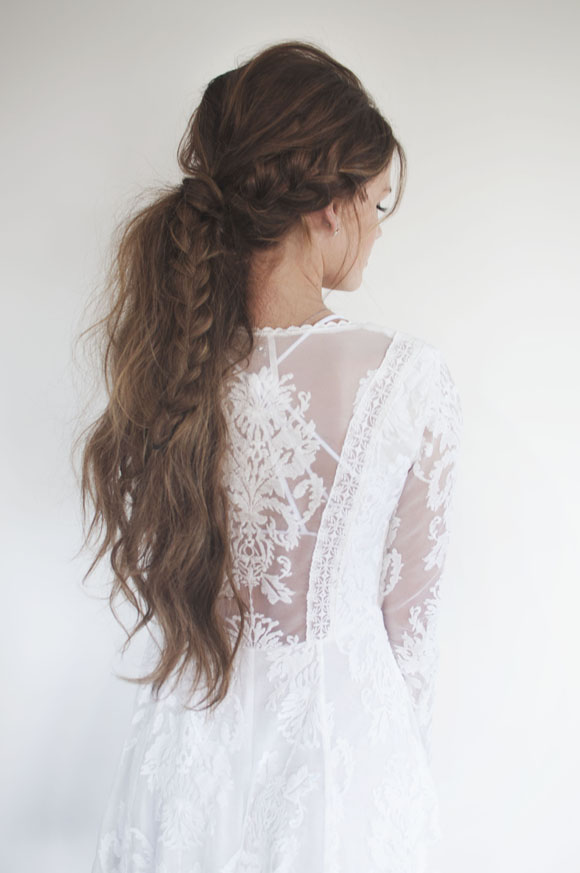
3. Dragon Braid – This hairstyle is one I like to think I invented myself, I’ve been asked many times for this how to, so here it is!
Get the Look: 5 Pack FP Sparklers
Step 1:
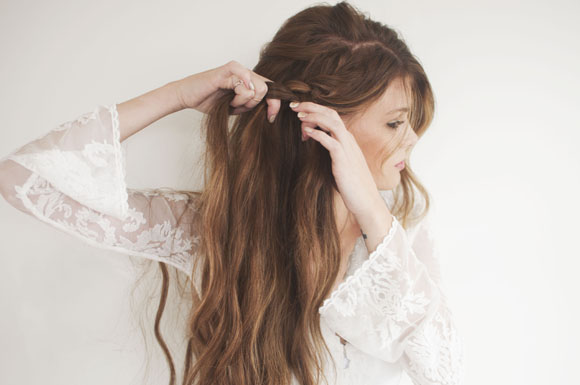
After creating your wavy curls, grab the section of hair above your ear and french braid about 4 inches of it, then finish braiding the remainder in a three strand braid.
Step 2:
Braid the hair and leave a good 3 inches at the end unbraided, securing with a hair elastic. Start pulling out the braid to give it a fuller look.
Step 3.
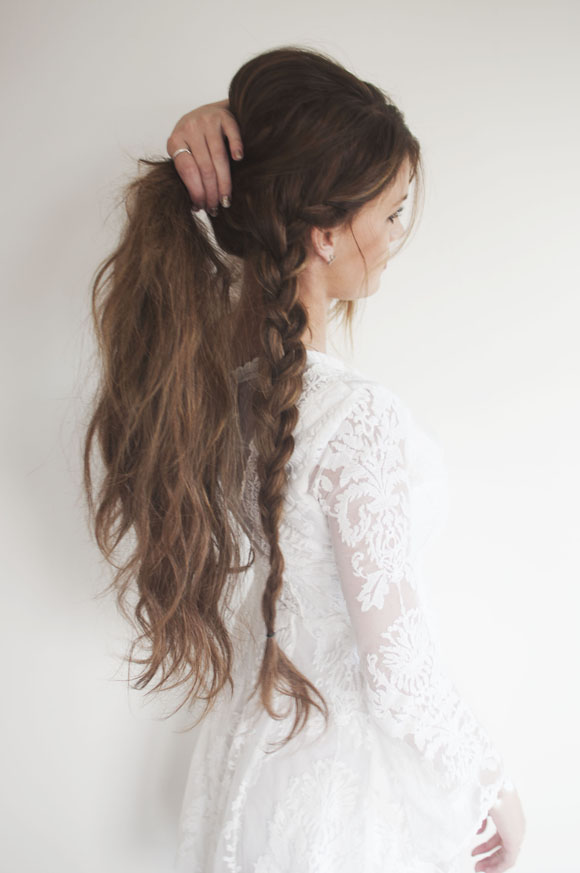
Grab the rest of your hair and pull it into a ponytail. I like positioning the ponytail just below the crown of my head. Then grab the braid and add it into the pony tail.
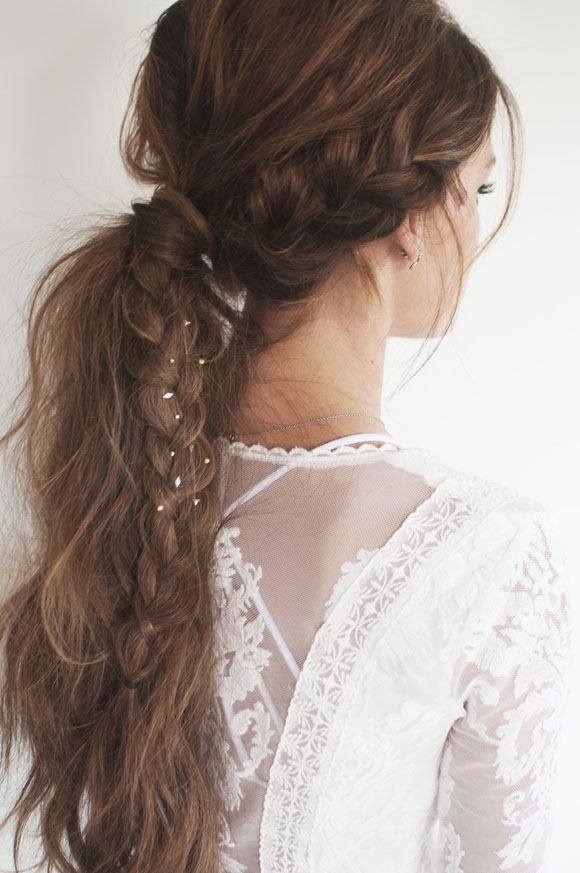
Final Product:
I also added in some of the hair charmsies for a little extra sparkle!
Get the Look: FP Hair Charmsies
Happy Holidays!
Get the Look: Waffling Around Cardigan
Thank you, Lindsey!
Be sure to follow Lindsey on FP Me and Instagram!
Above photos by Joceyln Noel and Daniel Rose.


