How To Take A Better Self-Portrait
How To Take A Better Self-Portrait
Sometimes the only camera I feel truly comfortable in front of is the one with no one behind it. I’m not usually one to brag … but I’m pretty good at taking self-portraits. Ever since I first picked up a camera, I’ve been turning it on myself. The black and white film self-portraits of high school eventually gave way to a college senior thesis focused on a similar theme, which eventually lead me to blogging and taking a photo of myself every. single. day. Some may be quick to write off a self-portrait as a purely narcissistic venture, but I disagree – I think capturing yourself in a moment is a beautiful way to explore just who you are. Putting yourself before the lens with no one else around allows you to truly open up to the camera and explore different ways of expressing yourself. I love looking back on the images I’ve taken of myself over the years and seeing just how much I’ve changed and how far I’ve come from the person I once was.
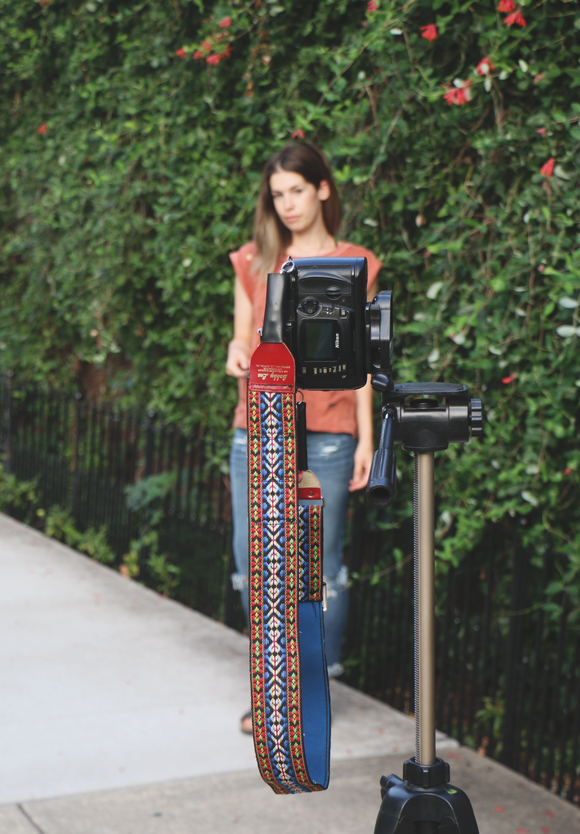
If you’ve never explored the world of self-portraits or are looking to take your #Selfies to the next level, today I’m sharing three techniques for capturing yourself on-camera. Self-portraiture also happens to be a great way to push your technique and experiment with in-camera effects, so once you get the hang of the straightforward shot, try playing around with depth of field, point of focus, and other new ways of manipulating your pictures. First and foremost, I recommend investing in a good sturdy tripod. A variety of models can be found online for under $ 20, look for one with adjustable legs and neck, that includes hooks at the bottom to weigh it down. This will save you a lot of trouble and you’ll find a tripod comes in handy for a variety of photographic techniques.
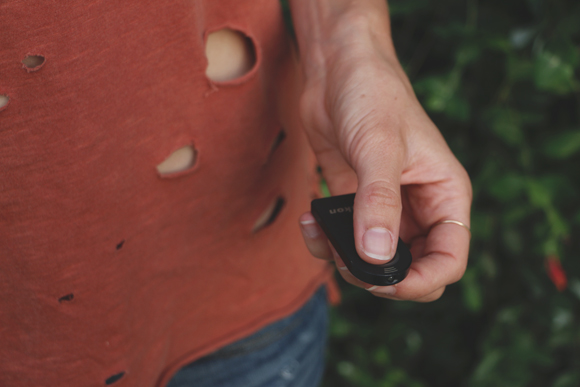
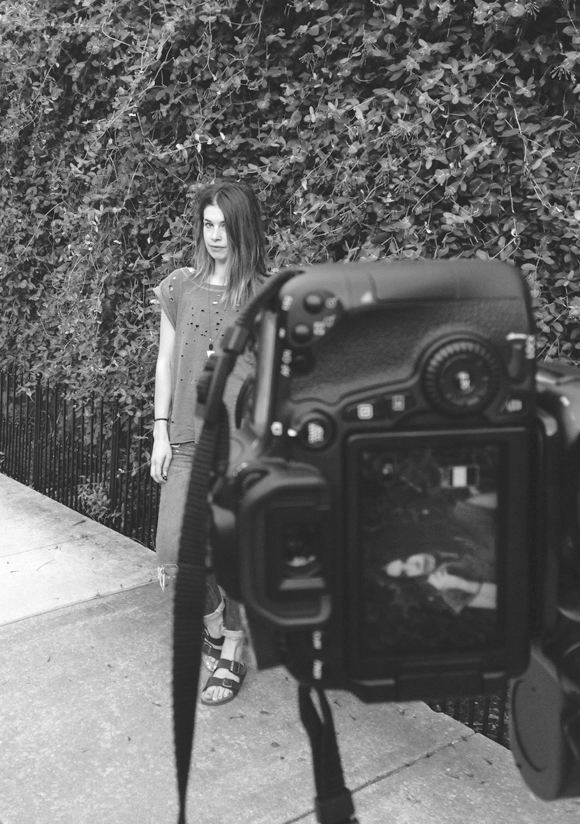
Remote: If you’re using a DSLR, perhaps the simplest way of taking a picture of yourself is by using a camera remote. These small, affordable devices are available online and at most camera shops for most camera models. To use one, mount your camera on the tripod and find the remote setting (it should be located with the self-timer setting), put the camera on auto-focus and set up your shot taking note of where you’ll be sitting or standing within the frame. Step into the frame, covertly point the remote at the camera, and fire away.
If you find that your camera isn’t focusing correctly on you, try taking it off auto-focus, twisting the lens until it’s out of focus, and clicking it back into auto mode. When you go to take the photo, your camera should focus itself automatically on whatever is in the foreground (you) before taking the shot.
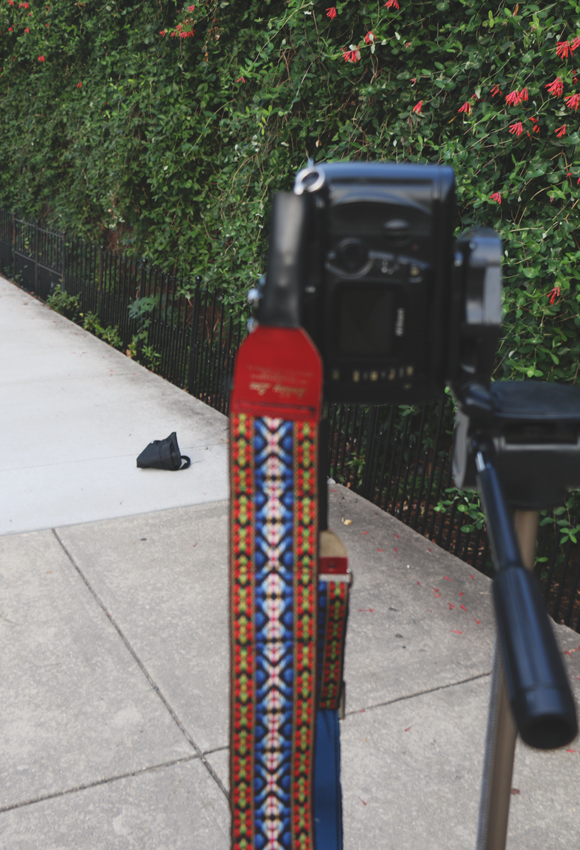
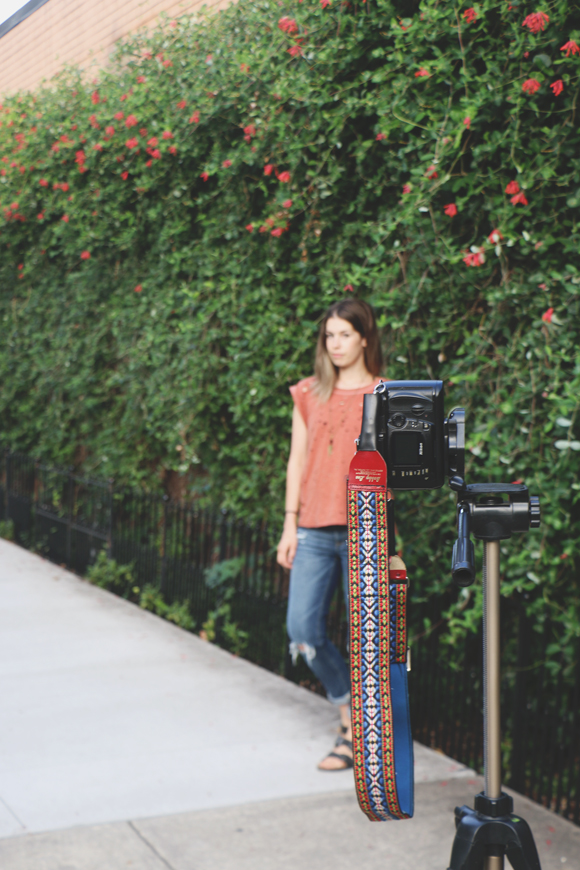
No remote: If you’d rather not use a remote, you’re not out of luck — all you need is something to stand in for you. With the camera mounted on the tripod, set up your shot. Once you’ve decided where you’ll sit or stand, place an object — like your camera bag, jacket, or a rock — where you intend to be. Set the lens on manual focus and focus on the object, set the camera on self-timer mode, replace the object with yourself and strike your pose.
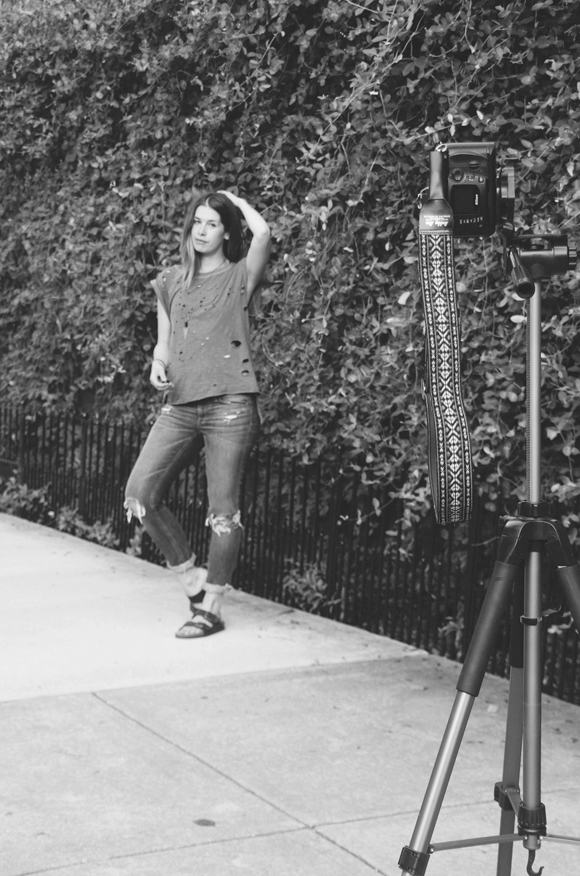
This is a fairly simple technique, but one that works best for full-body photos. To take a portrait-style photo (waist or shoulders-up), try standing against a vine-covered wall like the one above, using the larger leaves or flowers as your focus point.
With your phone: Sometimes all you have with you is your phone and you don’t want to take another arm-length selfie. No worries, there are tons of self-timer apps available to help you take better phone photos, download a few to find out which one you prefer. You can either try balancing your phone on different surfaces, or to make your life much easier, pick up the U Snap Wireless Tripod.
Check out more DIY posts from the BLDG 25 blog. And, once you take that perfect self portrait, enter our #fpselfieedition sweeps!
You can try find out more about
How To Take A Better Self-Portrait

