Make Your Own Halloween Party Backdrop
Make Your Own Halloween Party Backdrop

Halloween is the perfect excuse to throw a party. It’s not everyday that you’re able to dress up as anything imaginable, so why not gather everyone in one place to celebrate?
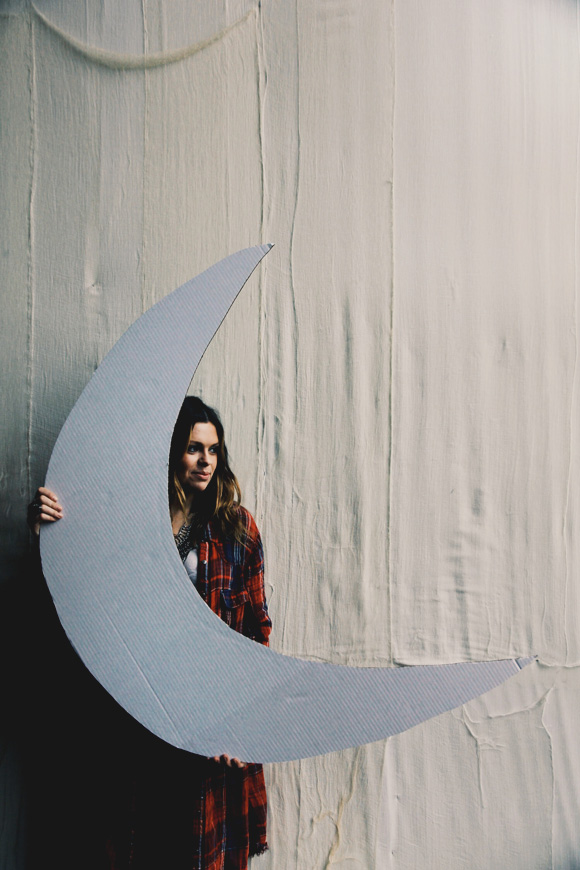
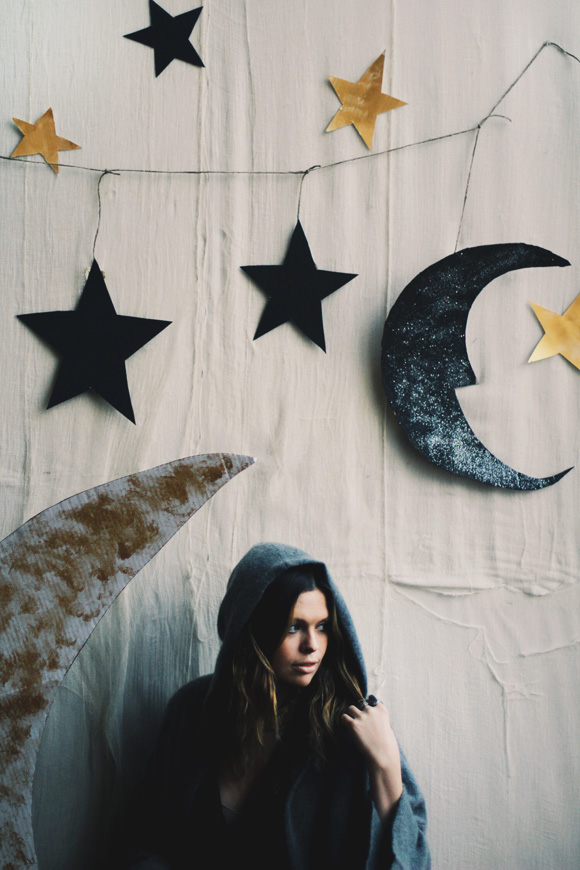
And with that, there’s a key item that you’ll need to document all those incredible costumes… a photobooth! The cameras are sure to be out, so having the proper backdrop to capture all of the Halloween fun is crucial. This year, we created one that is a little bit celestial to set the mood. Moons, stars, glitter, it’s all there, and it makes for a magical scene that is perfect for All Hallow’s Eve. Here’s how to do it:
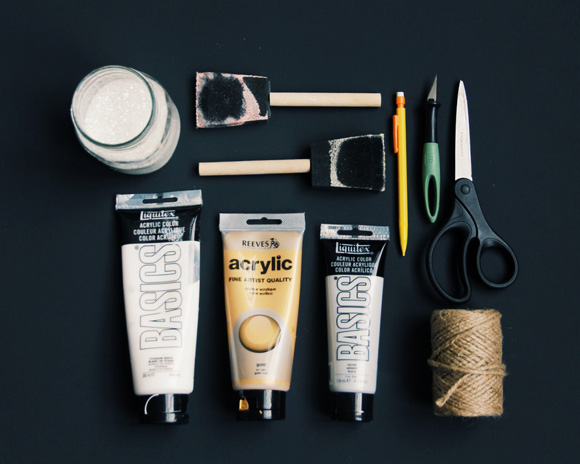
What you need:
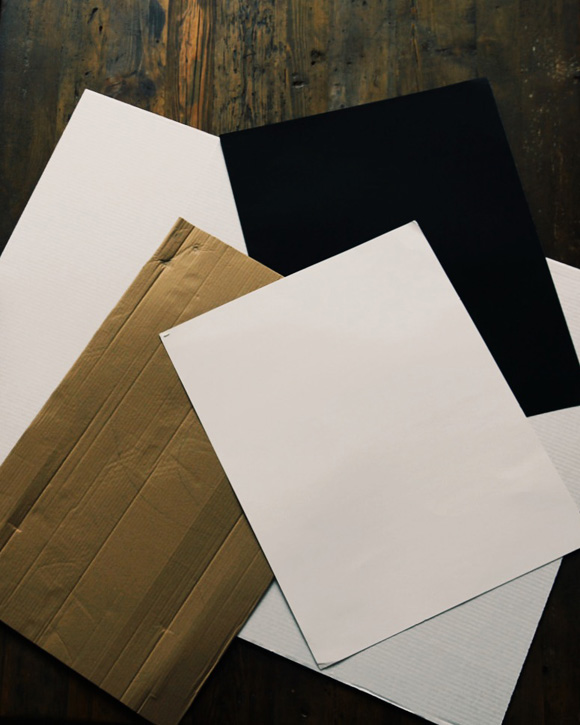
Cardboard/Poster Board
Scissors
X-acto Knife
Pencil
Paint
Paintbrush
Twine
Glitter
Duct Tape
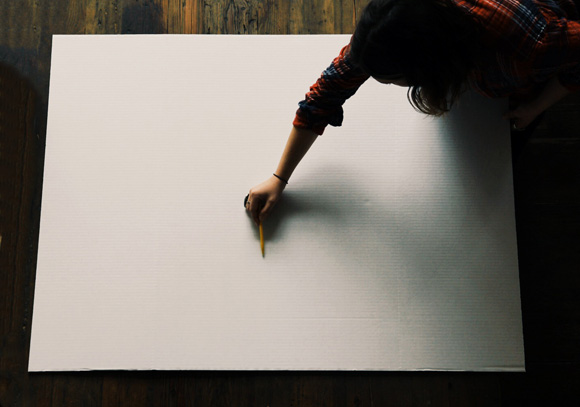
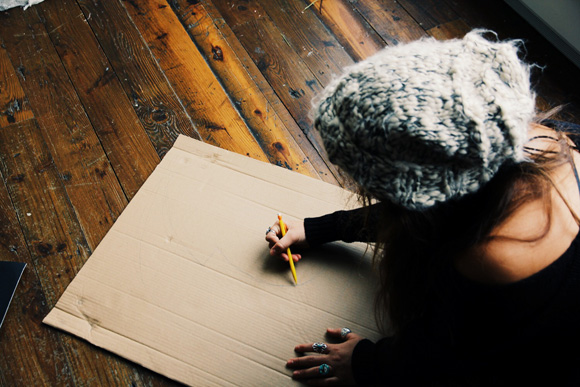
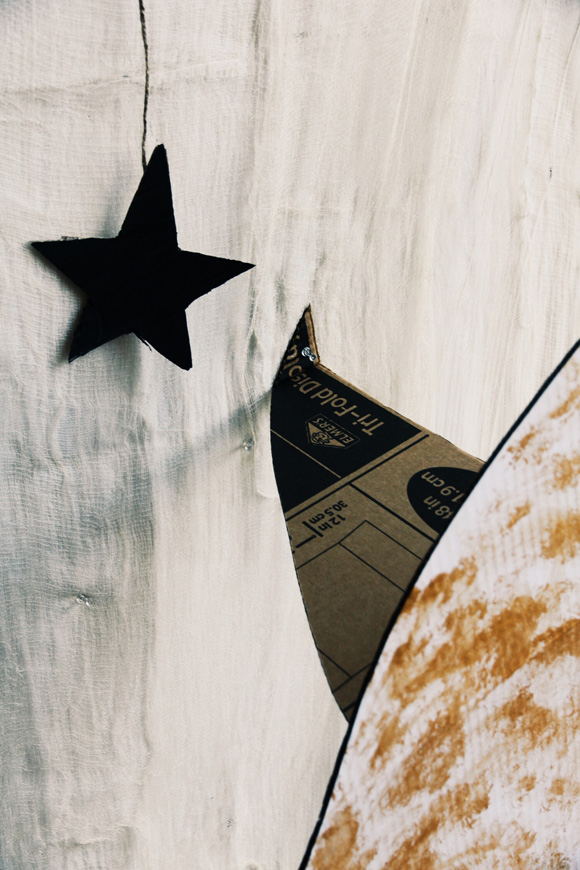
First, draw out a large sized moon on the largest piece of cardboard you have. (We used a large fold up display board)
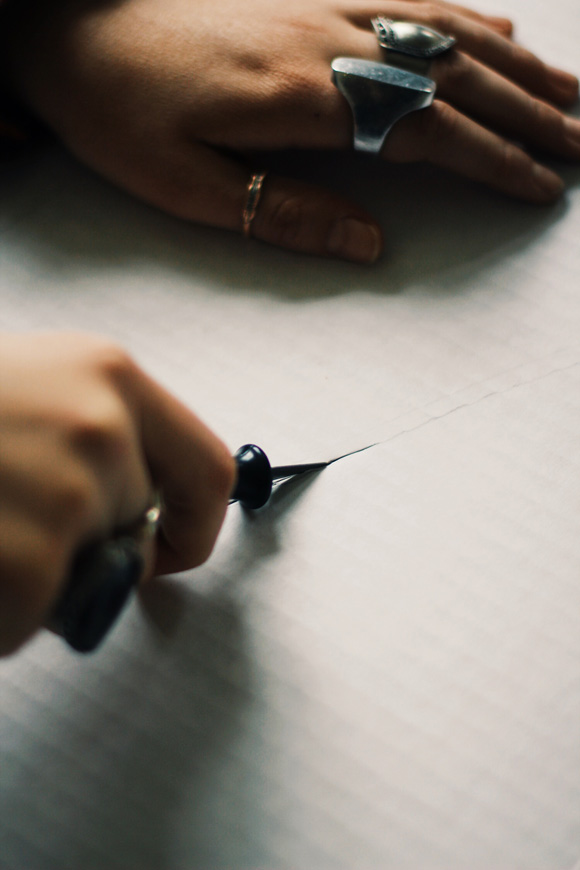
Using an X-acto knife, cut out the moon from the display board.
It should look something like the above picture. The bigger, the better!
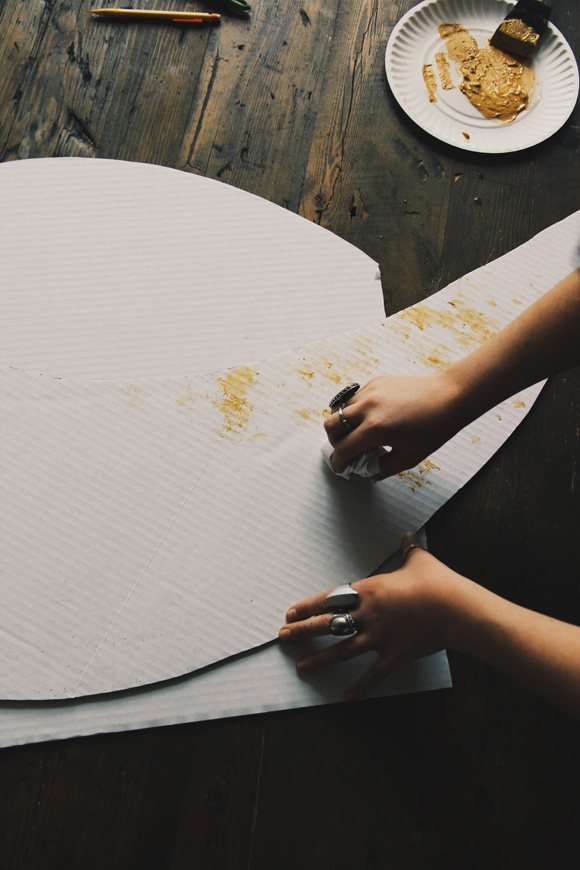
You can make your moon whatever color you would like, but we applied some metallic gold paint onto it using a paper towel and some water.
On the smaller pieces of cardboard and poster board, draw out some stars and a smaller sized moon.
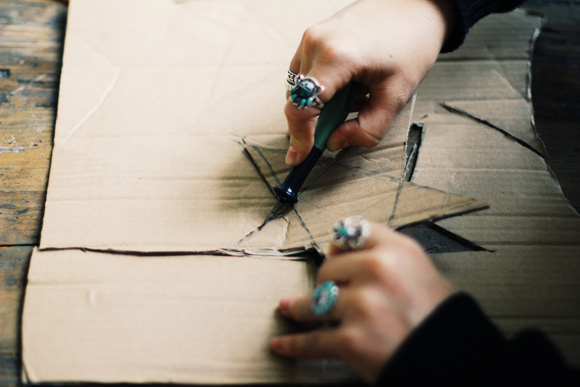
Tip: It’s easier to cut with an X-acto knife on the cardboard, and save the scissors for the poster board.
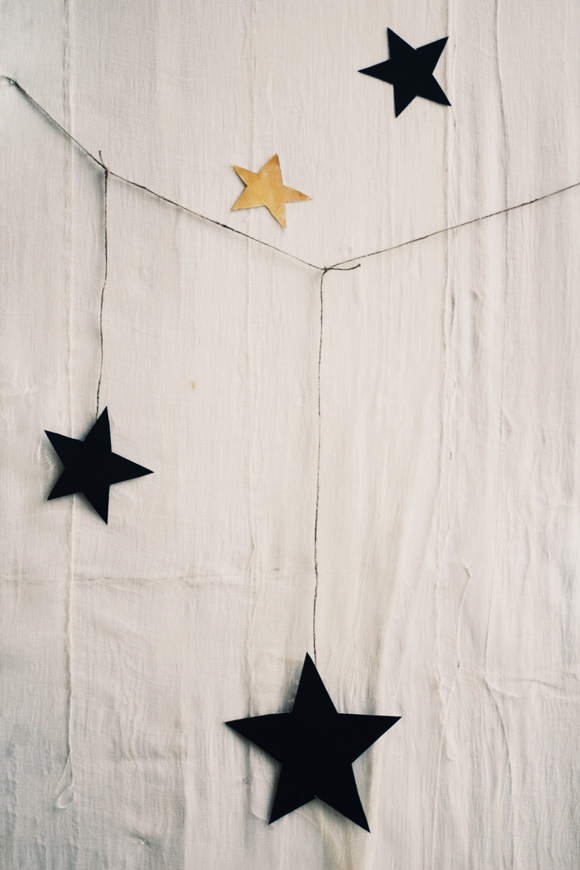
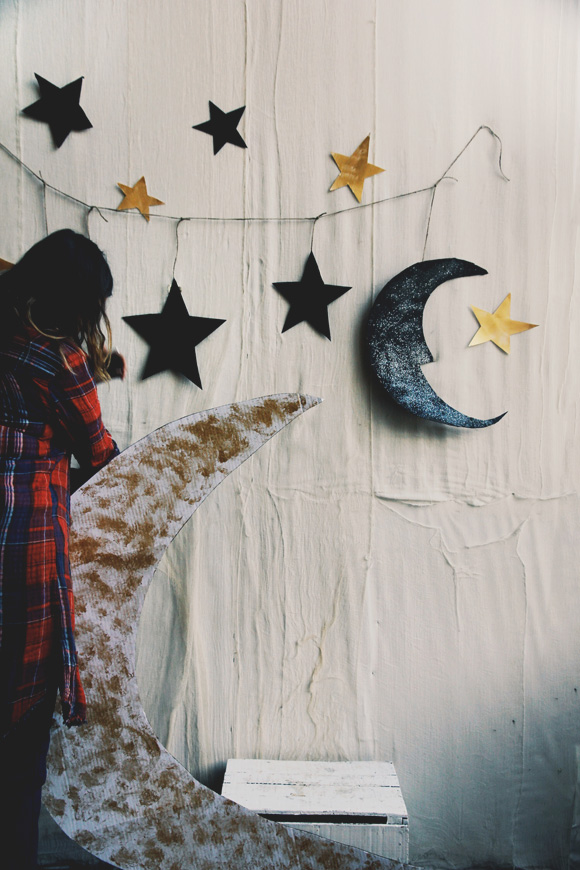
We painted some of the stars gold, and used black poster board for the others, with glittered sprinkled throughout. Once you have the desired amount of stars (or moons), drape a piece of twine across the space you’re using for your backdrop.
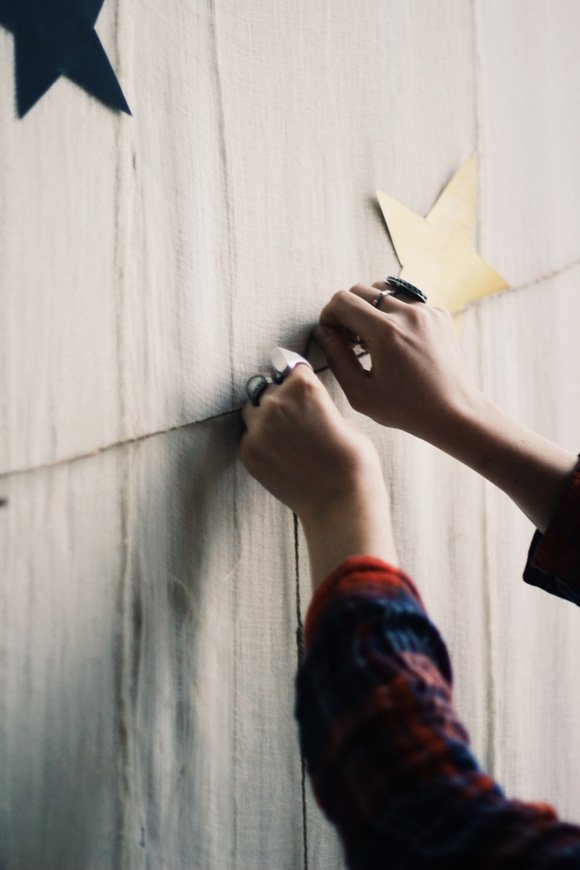
Cut off a few more pieces of twine and affix the stars to the end (you could also use a glue gun), then tie the other end to the piece that is draped.
To create the illusion of sitting on the moon, grab a crate or small stool that you can attach the moon to. We used duct tape to secure it.
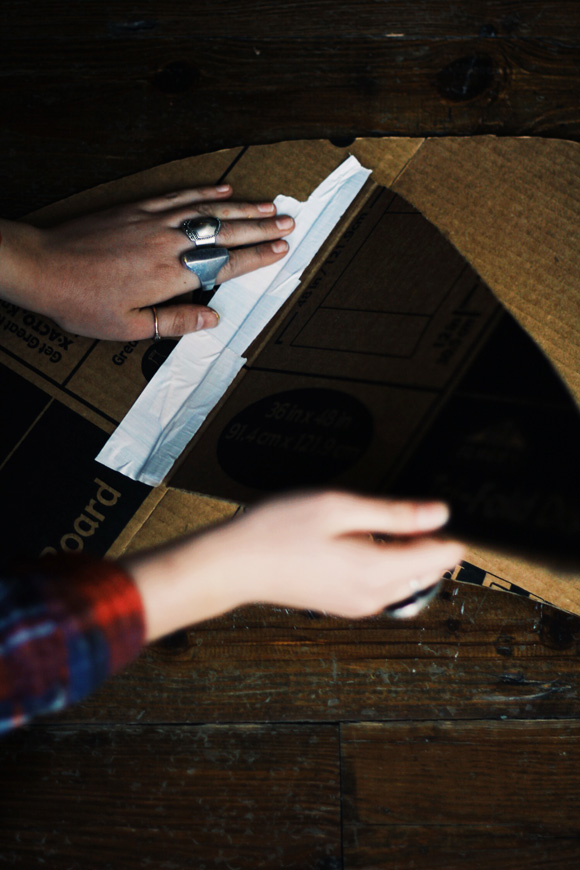
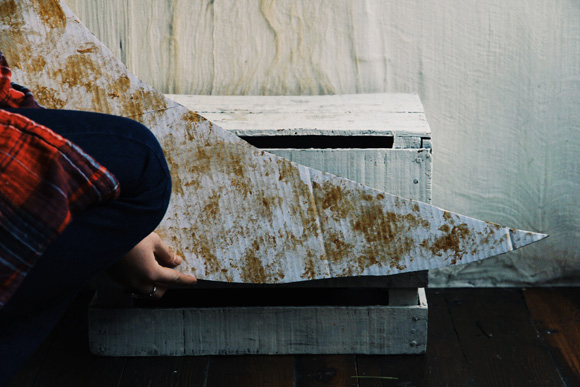
If you use a thick enough piece of cardboard, the moon may stand up straight by itself. The display board wasn’t sturdy enough, so we rigged up a stand that provided just the right amount of support. Using some left over cardboard, cut a triangular shaped piece that is long enough to fill up the space in between the moon and the wall. Secure the straight end to the moon with some duct tape.
Secure the pointed end to the wall as shown above.
Tip: You could also hang the moon from the ceiling and create the same effect!
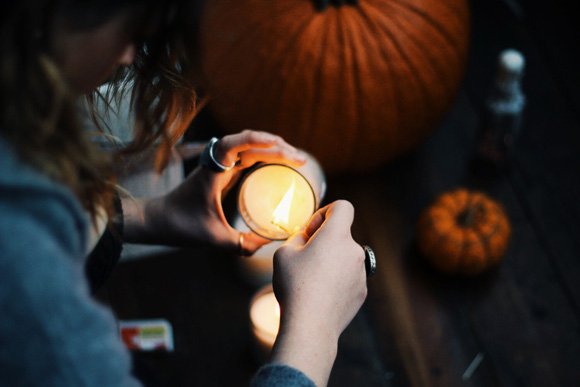
Gather up some pumpkins and other festive items to place next to the backdrop.
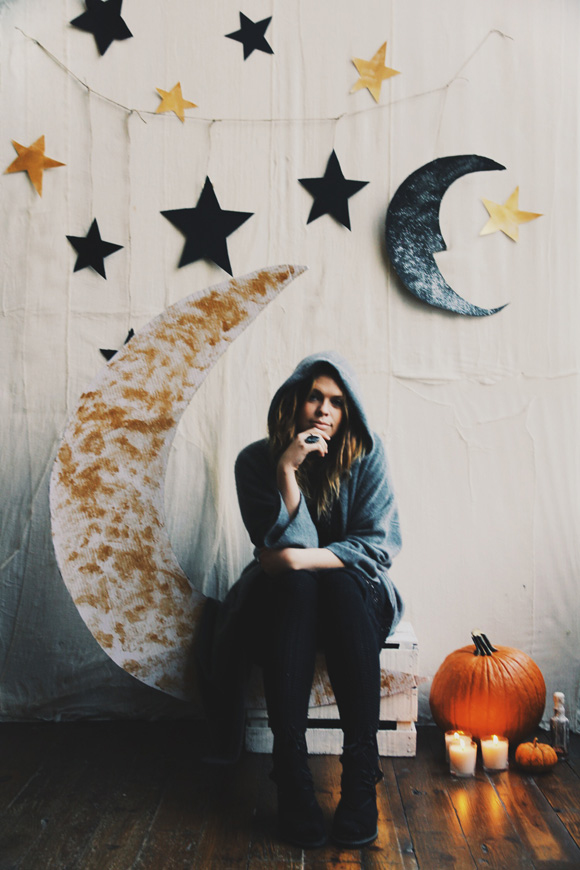
It’s easy as that! Have fun!
What are your Halloween plans? Please share!
More DIY projects from the BLDG 25 Blog.
Follow FP Jana on Twitter.