Organic Self Tanner & 10 Essential Tips
Organic Self Tanner & 10 Essential Tips

I used to be addicted to self tanner. As a natural redhead, I’ve never actually had a real tan, and back when I was a teenager, I wanted to be tan. Badly.
As the years went on and I learned more about the importance of using natural beauty products, I began to stray away from self tanner. Somewhere in that time, I had another shift in my mindset: I learned the importance of self-love, and realized that I was born with pale skin, so why not embrace that natural beauty?
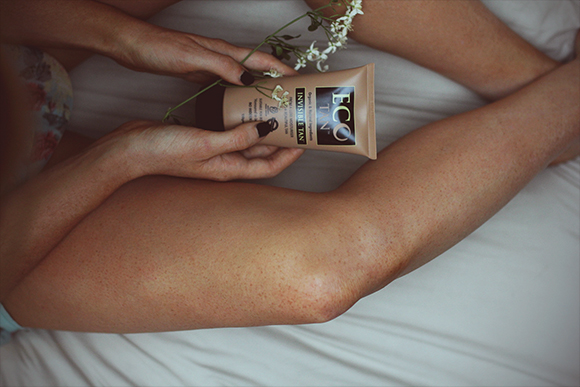
I’m happy to say that I no longer feel that wearing self tanner is necessary… but I will admit, I do like to have a little bit of a glow for certain events – like weddings… or tropical vacations. And for those times, my friends, allow me to introduce you to Eco Tan. I just discovered this Australian self tanner brand, and I’m over the moon for it.
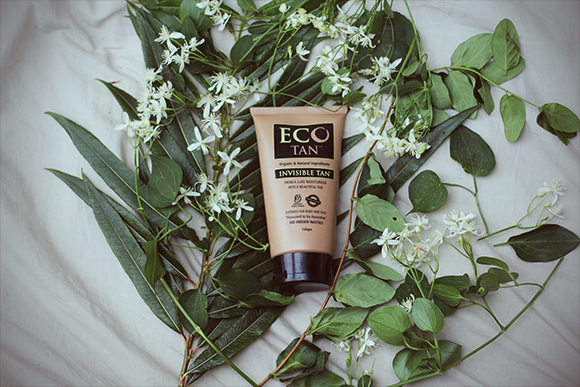
It’s made with the most natural ingredients possible – “no hidden nasties,” as they say! It’s got cacao, herbs, flower extract, fruit extract, and chamomile. And let me tell you: It works wonders. Here’s my before & after:
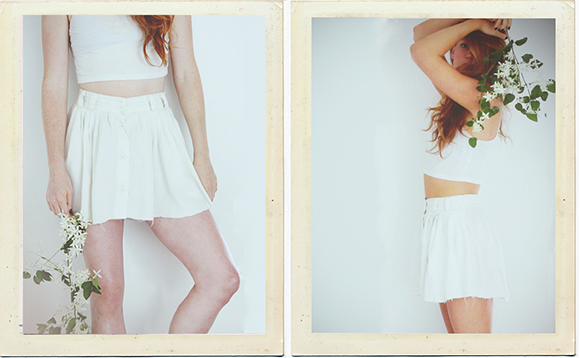
Nothing too drastic, but a nice little glow! It’s a bit more noticeable in person. 🙂
Now I must tell you something else… there was a period of time in my life where I worked as an airbrush tan artist – oh yes! In that time, and in my self-tan-obsessed years surrounding that time, I learned lots about the art of self tanning. It certainly is an art. Since I have so many years of experience (and lots of self-tan mishaps), I truly do consider myself a guru on the subject, so I wanted to share some tips with you!
I also want to add that sunless tanner is not reserved for just one type or shade of skin. The people I airbrushed had a wide variety of skin tones in my time – from the lightest of light to the darkest of dark. The end result is unique from person to person – everyone develops his or her own kind of glow.
If you have any tips to add, please leave a comment for everyone below. 🙂
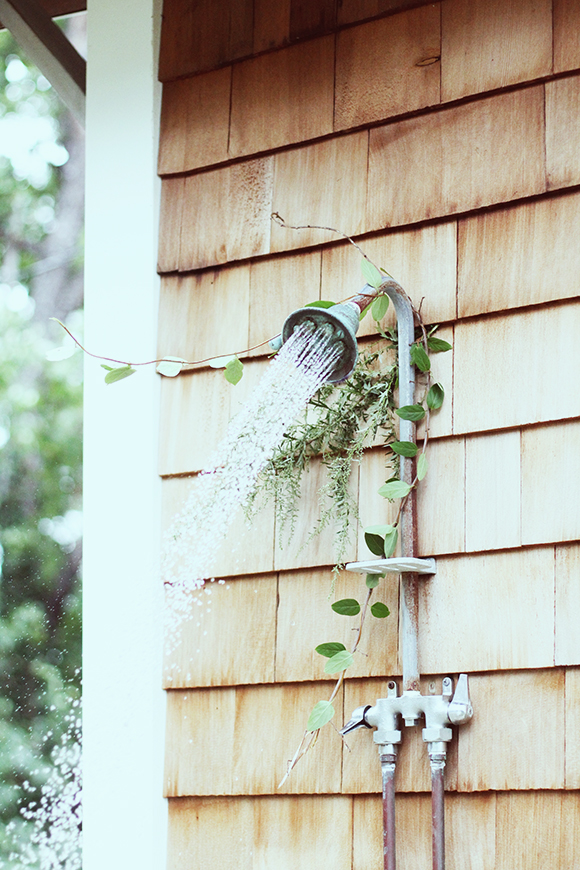
Exfoliate. Proper skin prep will ensure a lasting sunless tan. The product affects the outermost layer of skin, so if that skin is fresh and new, your tan life will be maximized. Just before using a sunless tanner, take a hot shower, and use an exfoliating glove or an exfoliating scrub on your entire body. The heat of the water will soften your skin, making it easier to remove dead skin cells.
Bare skin works best. After you shower, it’s best to refrain from using any lotions, creams, oils, or perfumes. Pure, bare skin will absorb the product much better, helping you to achieve the best-looking tan possible.
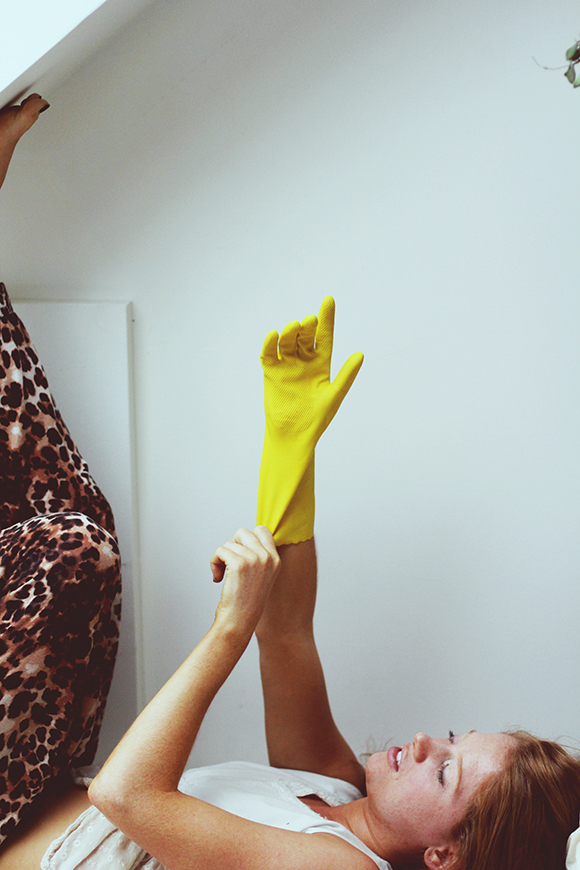
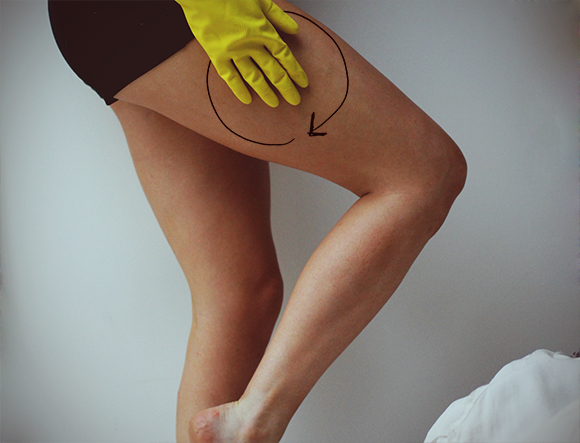
Use gloves. Most self tanner brands usually just recommend washing your hands after applying. Not me. In my experience, these products start acting quickly – and orange hands are not always the most aesthetically appealing. I use dish washing gloves – yup, those huge yellow ones. Since they cover half of my forearm, I usually just fold them over when it comes time for me to tan that part of my body.
Apply in circular motions. Proper application is perhaps the most important part of the self-tanning process – it’s the difference between an even, natural-looking tan, and a streaky, messy-looking one. If you’re using a lotion (as opposed to a spray or aerosol), apply the product using circular motions – big and small, clockwise and counter-clockwise. Even after an area has been covered, I like to rub over it a few more times just to ensure that every spot has been accounted for.
Mix with unscented lotion for elbows, knees, and ankles. These rough parts of the skin tend to absorb sunless tanner way more easily than the rest of the body, meaning you can end up with dark patches. I like to first avoid these areas as I apply the product to the rest of my body, then go back at the end using a mixture of 1 part sunless tanner to 1 part unscented lotion. This dilutes the product and gives a more even tone overall. I also use a lighter pressure when applying product to these areas.
Use aerosol for hands and feet. The hands and feet are the most difficult areas to perfect, hands down. (Ugh, sorry. No pun intended.) In my experience, the best way to tan them with natural-looking results is to use an aerosol self tanner for these areas only. Hold the can about 6 inches away from the desired area, and spray using long, sweeping motions. Hands and feet seem to absorb the product in a similar way to elbows, knees, and ankles, so keep in mind that less is more. Finally – avoid tanning the palms of your hands and soles of your feet at all costs. These areas don’t tan naturally in the sun, so there’s no need!
The waiting game. After you’re done applying, it’s best to wait 10-12 hours before showering. In this time, wear loose-fitting clothes, and avoid using any lotions, creams, oils, or perfumes on your skin. Try not to sweat or get wet, either. If you must wash your hands, try to wash your palms only. Don’t worry if you do happen to get wet, though! As long as you’re not caught in a rainstorm, it probably won’t affect your tan. I always like to apply sunless tanner right before bed. That way, I don’t have to worry about any of these things, and I wake up the next morning with a beautiful glow!
Keep post-tan water exposure to a minimum. Every time your skin gets wet (especially with hot water), it becomes more likely to rub off, meaning your tan will, too. This includes swimming in pools, lakes, oceans, and going in hot tubs. Keeping your water exposure to a minimum will allow a longer-lasting tan. So keep those showers quick and that water cool to lukewarm – better for the environment, too! Always pat your skin dry with a towel instead of rubbing, and try not to scratch your skin when it has just been wet.
Keep your skin moisturized. Sunless tanner loves hydrated skin. Keeping your skin moisturized will keep your tan looking fresh and lasting long. Drink lots and lots of water, and moisturize daily using natural oils or intensely moisturizing natural lotions with shea or cocoa butter.
The fading game. The length of your tan depends on numerous factors – the skin prep, the type and amount of sunless tanner used, how well you take care of your tan, and the unique makeup of your skin. Most sunless tans begin to fade after about 2-3 days, and will be mostly gone after 7-10. Once you reach the tail end of the fading stage, you may want to help it along. To do so, take a hot shower and exfoliate like crazy. Citrus products like lemon or grapefruit are natural exfoliants, so using a scrub containing these ingredients should help, too!
That’s all I have for you! Well, one more thing. Please know this: You are beautiful in your natural state – that’s the absolute truth. You don’t need sunless tanner, and you never will. If you want a nice glow here and there, I say go for it! Just make sure you’re doing it for fun, and that you’re doing it for you. Never for them, and certainly not because you need it. I mean that, my friends! <3
A huge thank you to my friends at Eco Tan for letting me try out their amazing product!
Follow Brigette on Instagram, and have a look at her blog and Etsy shop!