Weekend DIY Project: Wood-Burned Serving Spoons
Looking for the perfect gift to make for the holiday host or hostess? This simple serving set is not only easy to make, but makes a great impression, too!
The holidays have a wonderful way of encouraging creativity. Handmade gifts, cards written in looping handwriting, sweet treats displayed on a Thanksgiving table…there’s something about these hand touched elements that adds heart to your holiday gatherings, decor and gifts, creating an even stronger connection between giver and receiver. With Thanksgiving arriving next week, I’ve been dreaming up alternatives to the standard host and hostess gifts. Wine, cheese, flowers…while I certainly wouldn’t turn any of these hostess gifts away (side note: anyone who wants to bring me wine, cheese and flowers on a regular basis is welcome to do so), crafting up something with your own two hands is a wonderful way of showing your appreciation on a more personal level.
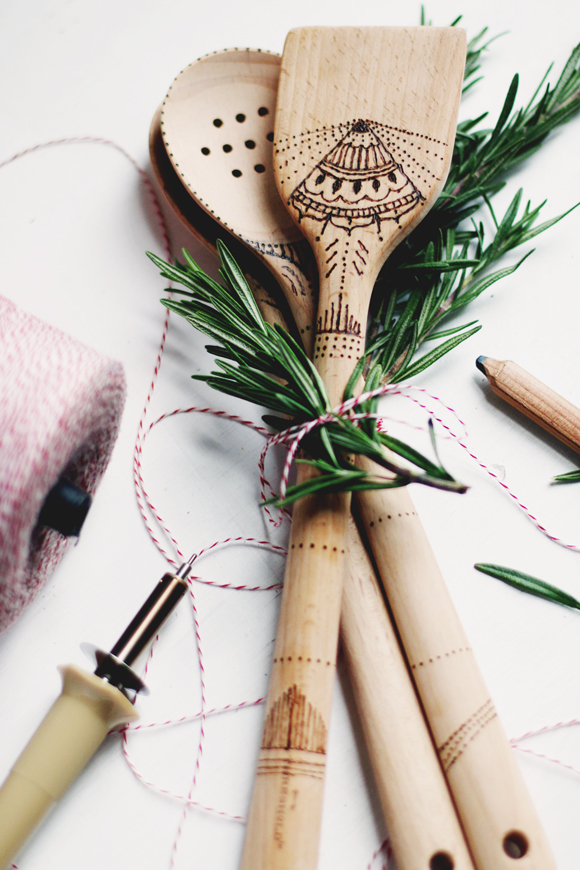
This set of wood-burned serving spoons not only makes the perfect gift but is super simple to make, too. Until recently, wood-burners have had a tendency to call to mind images of my sixth-grade shop class, and I admit to historically avoiding them; that is, until the recent resurgence of the craft. Turns out, wood-burning can be a beautiful way of embellishing everything from furniture to cooking utensils, and is incredibly user-friendly at that. Wrapped up with some decorative baker’s twine and festive pieces of pine, this set makes a gorgeous impression (wine and cheese optional).
DIY Wood-Burned Serving Spoons
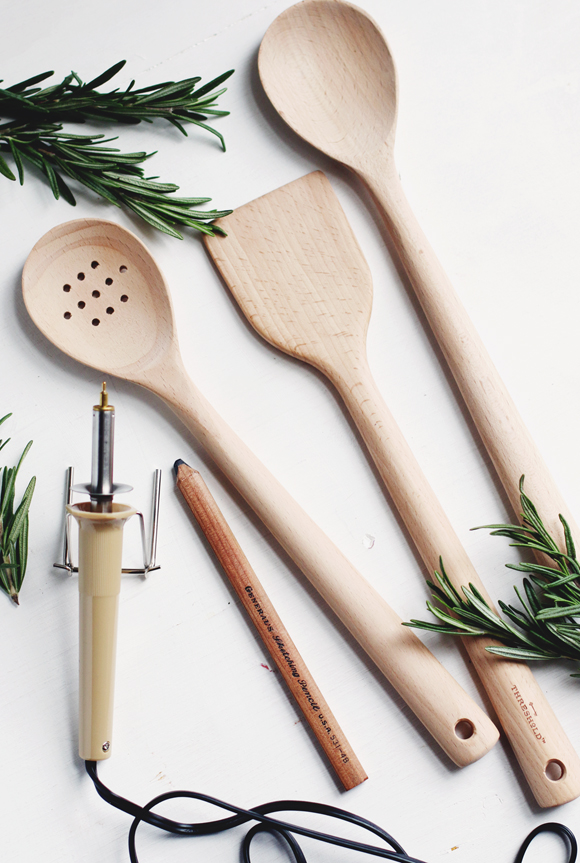
Materials:
Wood-burning tool
Wooden serving spoon set, unvarnished
Pencil
Eraser
String + pine pieces for wrapping
Optional: scrap wood for practice
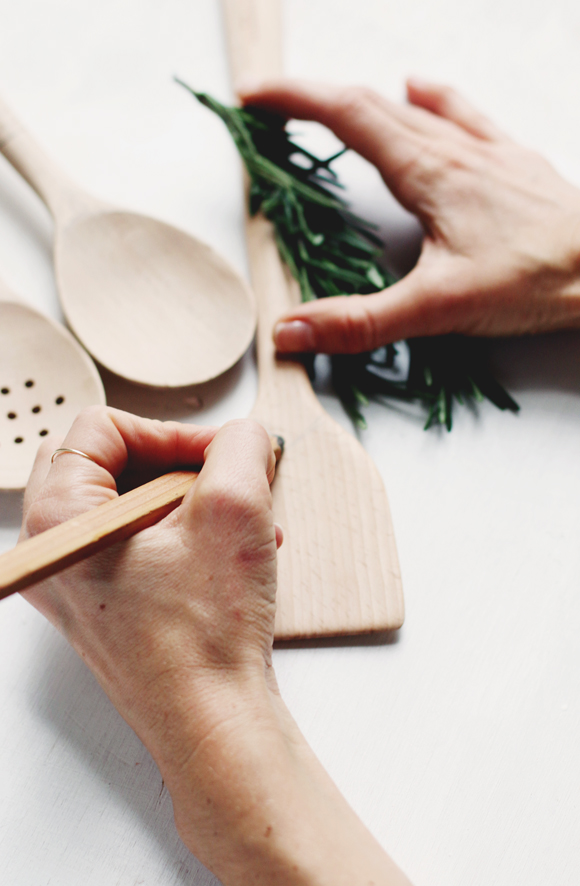
First, if you’re like me and haven’t used a wood-burning tool since junior high, I recommend getting reacquainted using a piece of scrap wood. Once you feel comfortable with the tool, sketch out your designs on each serving piece using the pencil.
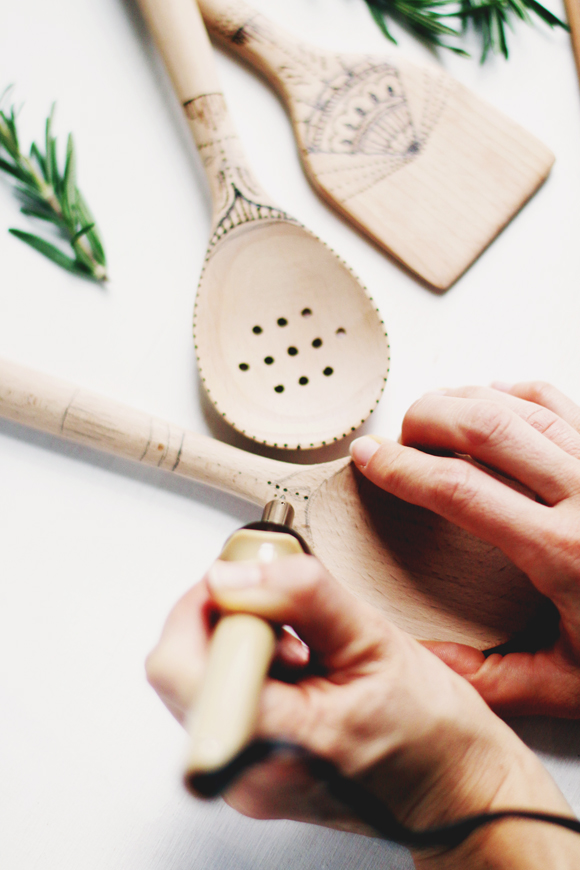
One you’ve sketched out the designs, begin burning them into place with the tool. Keep in mind, the harder you press with the wood-burner, the darker the detail will be. Once you’ve finished all three pieces, use an eraser to remove any remaining pencil marks.
Use decorative baker’s twine and pine pieces to wrap up your gift!
+ Three more gifts to make your holiday host/ess!


